Start with the job the product must do
A blank page can make almost any product idea seem possible. That freedom is useful, but it can also lead a team to develop attractive concepts that cannot be made, used or maintained as intended. Constraints give sketching a purpose: they define the space in which a good solution must work. Setting them early does not mean deciding what the product will look like. It means identifying which questions a concept must answer.
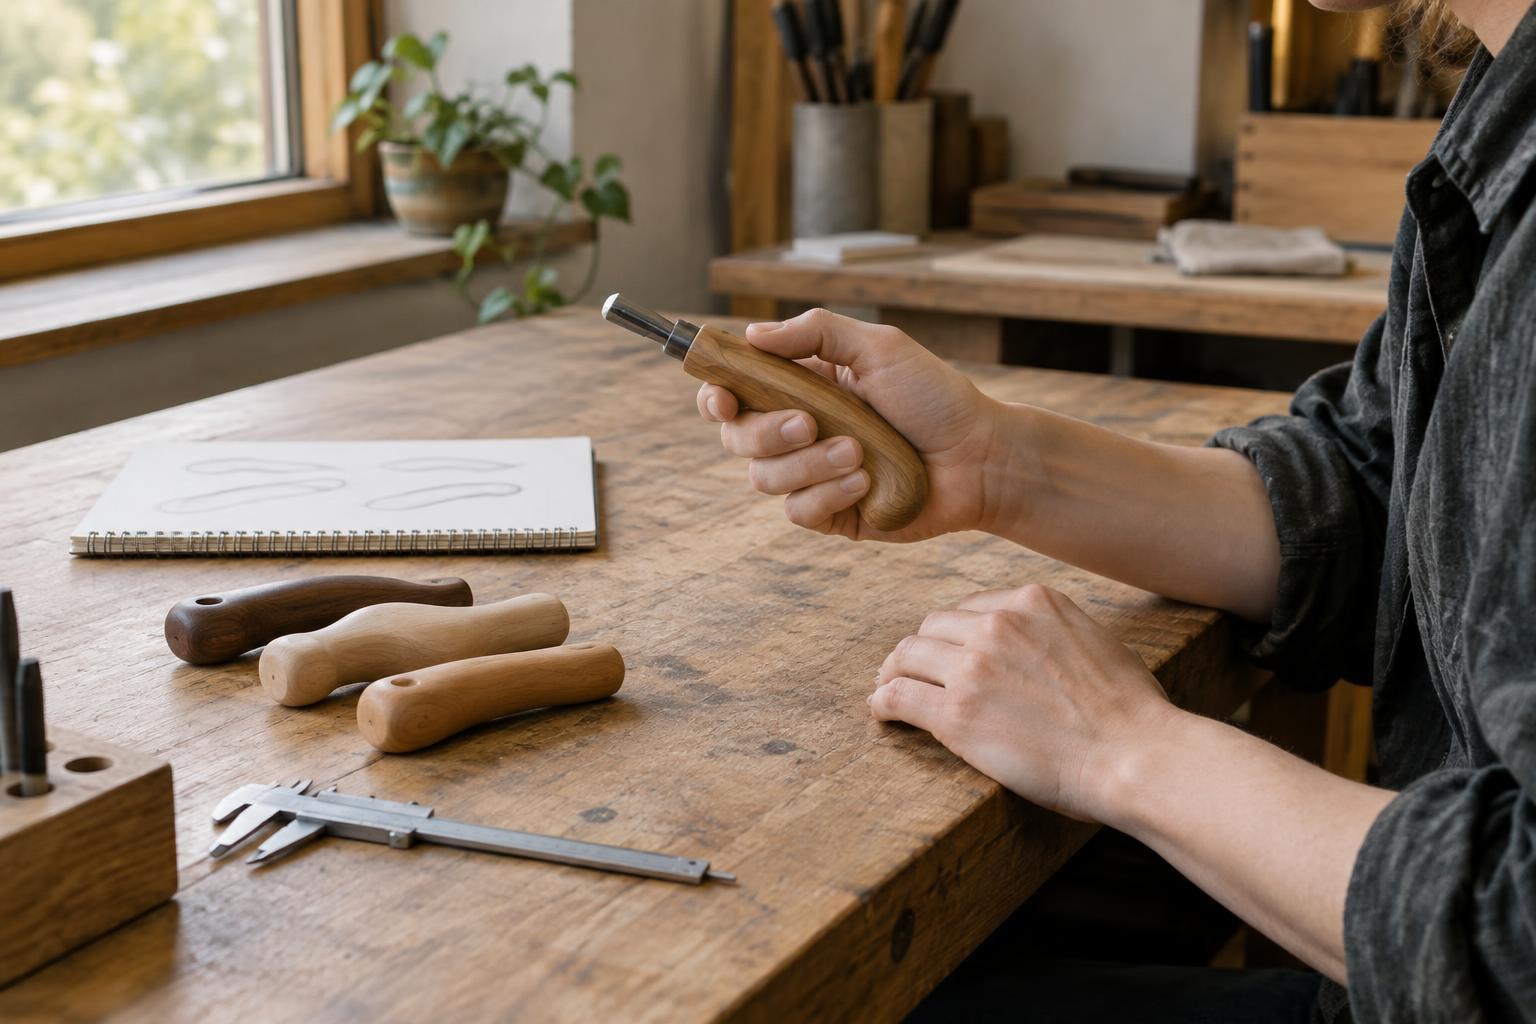
Begin with the intended user and task. What does the person need to accomplish? Where will the product be used, handled, stored and cleaned? How long must an interaction take, and what could make it awkward or unsafe? Describe observable needs rather than preferred forms. “Can be carried in one hand while wearing work gloves” leaves room for several designs; “must have a curved handle” commits to one solution before alternatives have been explored.
Separate fixed limits from design choices
List the conditions that a concept cannot ignore. These might include the space it must fit, the components it must connect to, a required load, an available machine process or the way it will be packed. Record the source of each limit. A measurement taken from an existing assembly is different from a size someone suggested because it seemed convenient. If a limit is uncertain, label it as an assumption instead of treating it as settled.
Next, distinguish hard constraints from preferences. A hard constraint rules out a concept if it is not met. A preference helps compare viable concepts, but may be traded against another benefit. For example, compatibility with an existing fitting may be non-negotiable, while a preference for fewer visible fasteners may be flexible. This distinction prevents the brief from becoming a long list of demands that no design can satisfy.
Bring materials and making into the brief
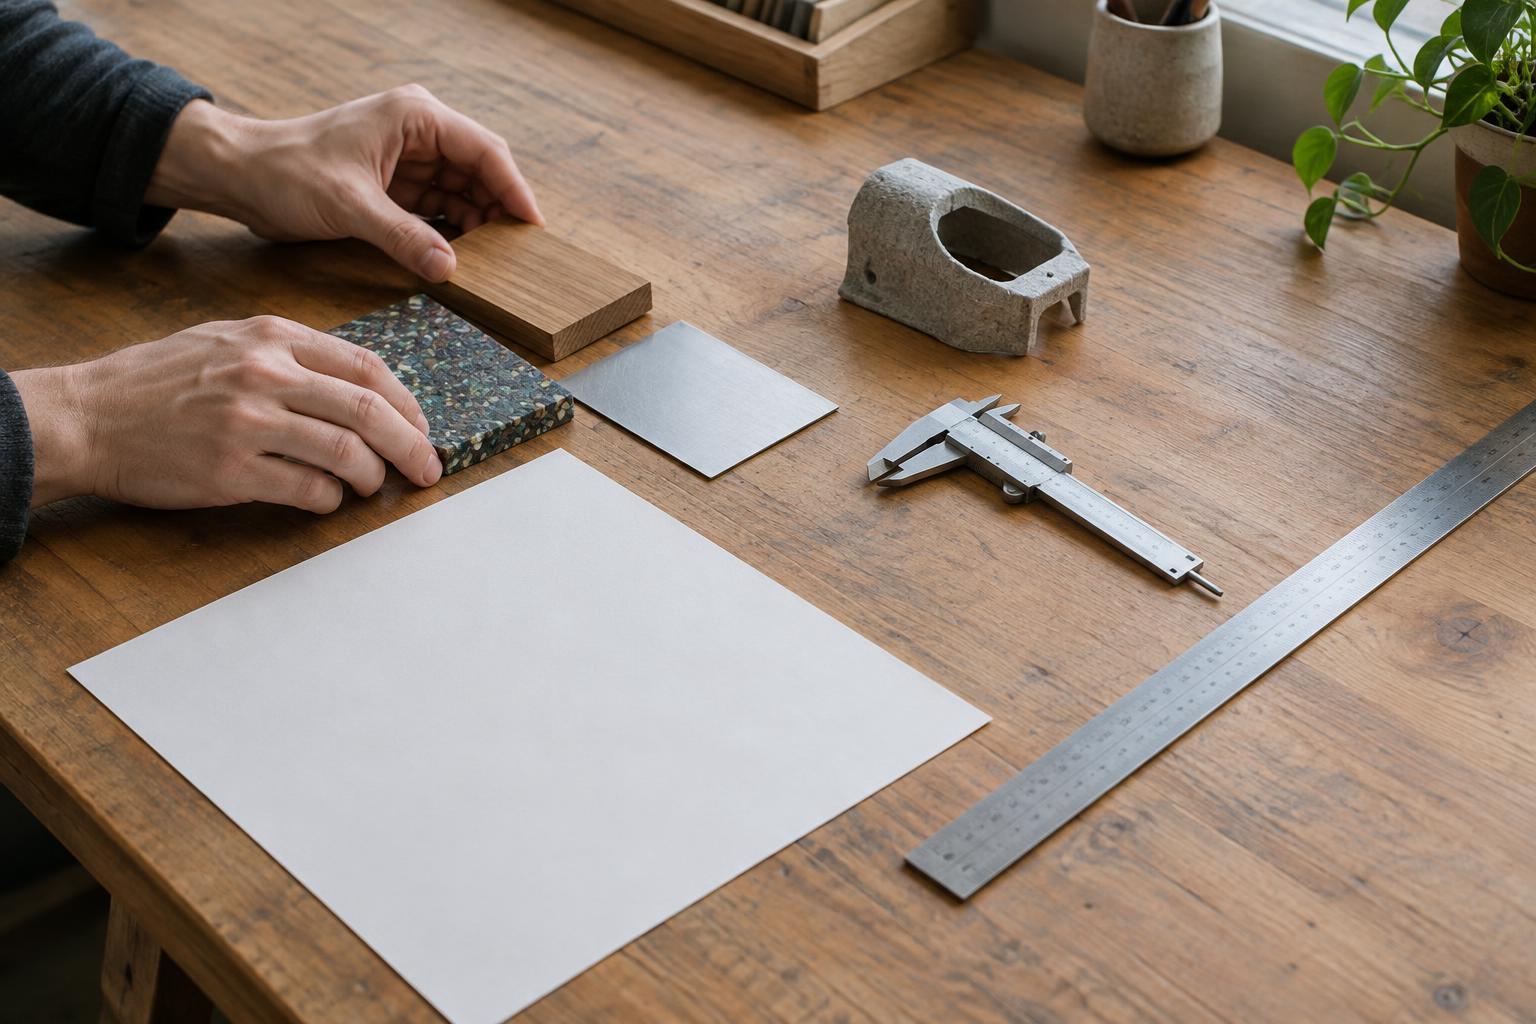
Material choices shape form, joinery, finish and repair. Before sketching, note what the product needs from its material: stiffness, flexibility, grip, resistance to wear, or a surface that can be cleaned easily. Include conditions of use, such as exposure to moisture or repeated handling. Do not specify a material solely because it looks right in a reference image. If several materials could meet the need, keep the brief open enough to compare them.
Production constraints deserve the same attention. Consider likely batch size, available tools, the number of assembly steps and which features would be difficult to inspect or repeat. A workshop making small runs may be able to adjust a component by hand, but that should not become an unspoken requirement. Ask how parts will be held during fabrication, how they will be joined and whether someone can replace a worn element. These questions often reveal useful sketching directions rather than merely restricting them.
Make trade-offs visible and testable
Constraints frequently compete. A lighter product may call for thinner sections, while durability may call for more material. A smooth exterior may simplify cleaning but complicate access to fasteners. Instead of hiding these tensions, write them as pairs and decide which outcome matters more in the intended use. The answer may differ by product: easy disassembly might outweigh a seamless appearance for equipment that will be serviced regularly.
Give each important constraint a way to be checked. A dimensional limit can be measured. Assembly complexity can be explored with a rough mock-up and a step-by-step build sequence. Ease of handling can be examined with a model used in the expected setting. Early checks need not prove that the final design works; they should help the team notice weak assumptions before time is spent refining details.
Write a brief that leaves room to explore
Bring the findings together on a short working brief. Include the user and task, the few hard limits, the main preferences, open questions and the checks planned for promising concepts. Use clear language such as “must fit within this space” or “prefer a replaceable wear surface.” Avoid vague instructions like “make it premium” unless the team has agreed what that means in terms of handling, finish, construction or longevity.
Then sketch more than one response to the brief. One concept might favor simple assembly; another might use less material or make maintenance easier. Annotate each with the constraints it satisfies and the questions it raises. If every promising idea struggles with the same requirement, revisit that requirement’s source. A constraint brief is not a verdict delivered before design begins. It is a shared tool for making choices, learning from prototypes and changing course for a clear reason.