Start with the joint, not the adhesive
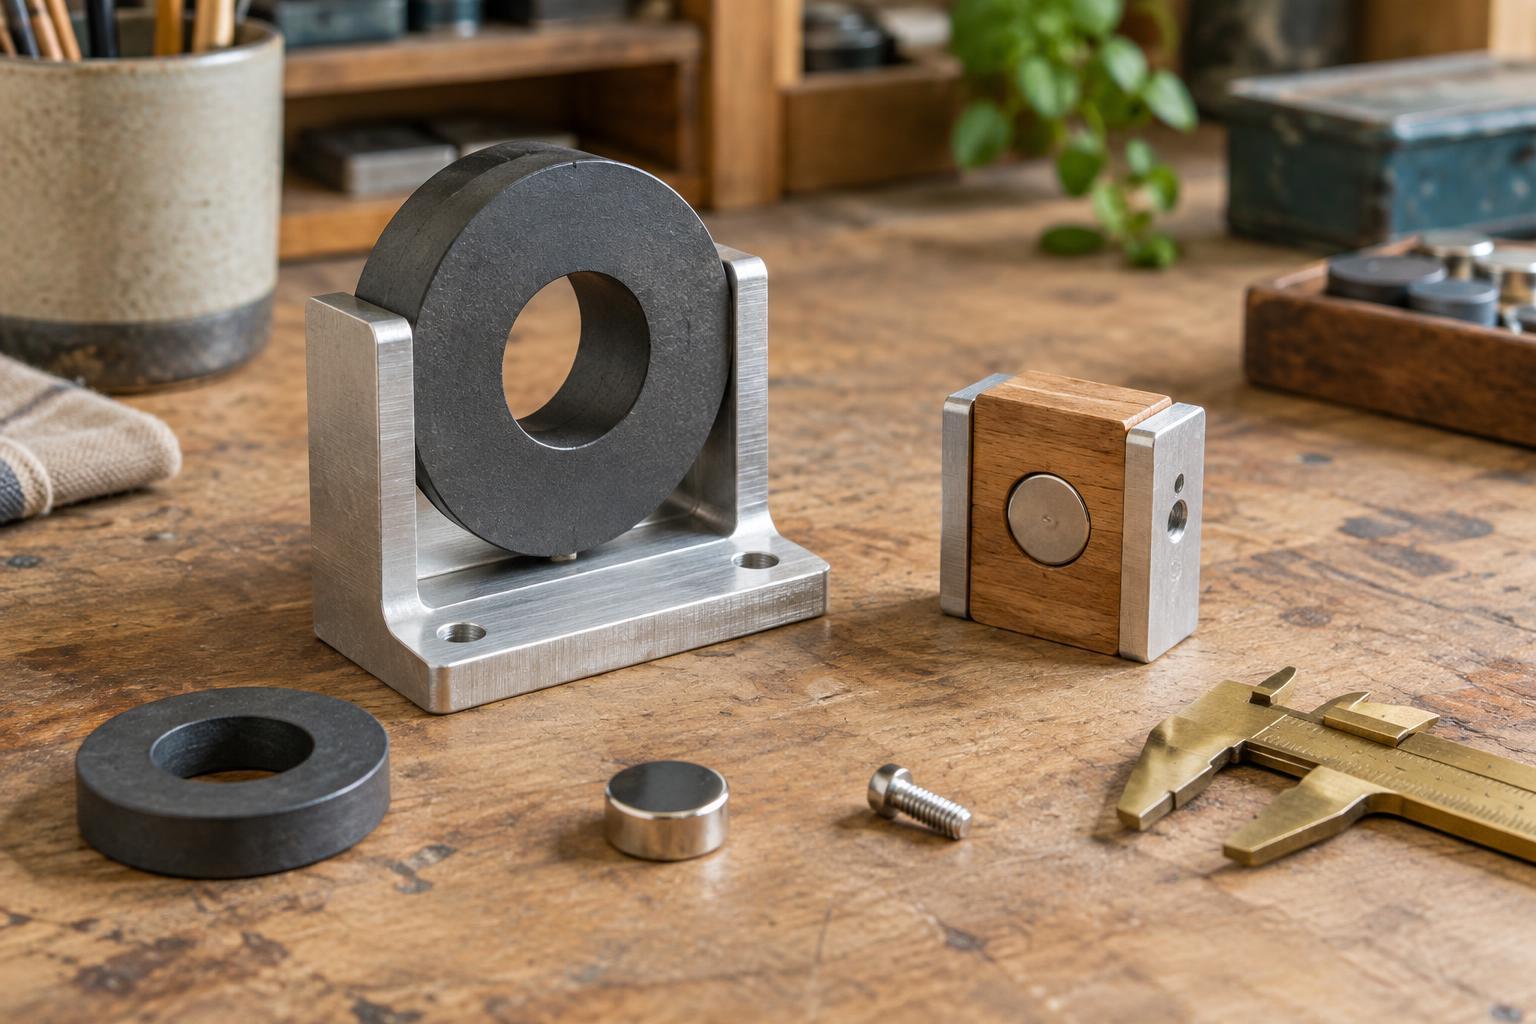
Adhesive bonding joins parts by placing a material between their surfaces and allowing it to set. It can connect dissimilar materials, spread loads across an area, and avoid visible fasteners. Those advantages depend on the joint design. A strong adhesive cannot compensate for surfaces that barely meet or a joint that is routinely pulled apart at one edge.
Where possible, arrange the parts so normal use loads the bond across its area rather than peeling it from an edge. Overlaps are often easier to bond than narrow butt joints because they provide more contact area, but extra area alone does not guarantee a sound joint. Part stiffness, alignment, temperature changes, and exposure to moisture or chemicals may also matter. Designers should leave room for a controlled adhesive layer and for a practical way to hold the parts in position while it sets.
Prepare surfaces consistently
Bonding starts before the adhesive is opened. Oil, dust, release agents, loose coatings, and handling residue can prevent the adhesive from contacting the intended surface. A preparation routine might involve cleaning, drying, and, where appropriate, lightly abrading a surface. The suitable method depends on the materials and the adhesive; a treatment that helps one combination may damage another.
The interval between preparation and bonding matters too. A clean part can pick up fingerprints or workshop dust while waiting on a bench. A simple production routine keeps prepared surfaces protected, identifies which side receives adhesive, and separates unfinished parts from ready-to-bond parts. If a primer or other pretreatment is specified for the chosen adhesive, treat it as a defined process step rather than an optional touch-up.
Control application and fit-up
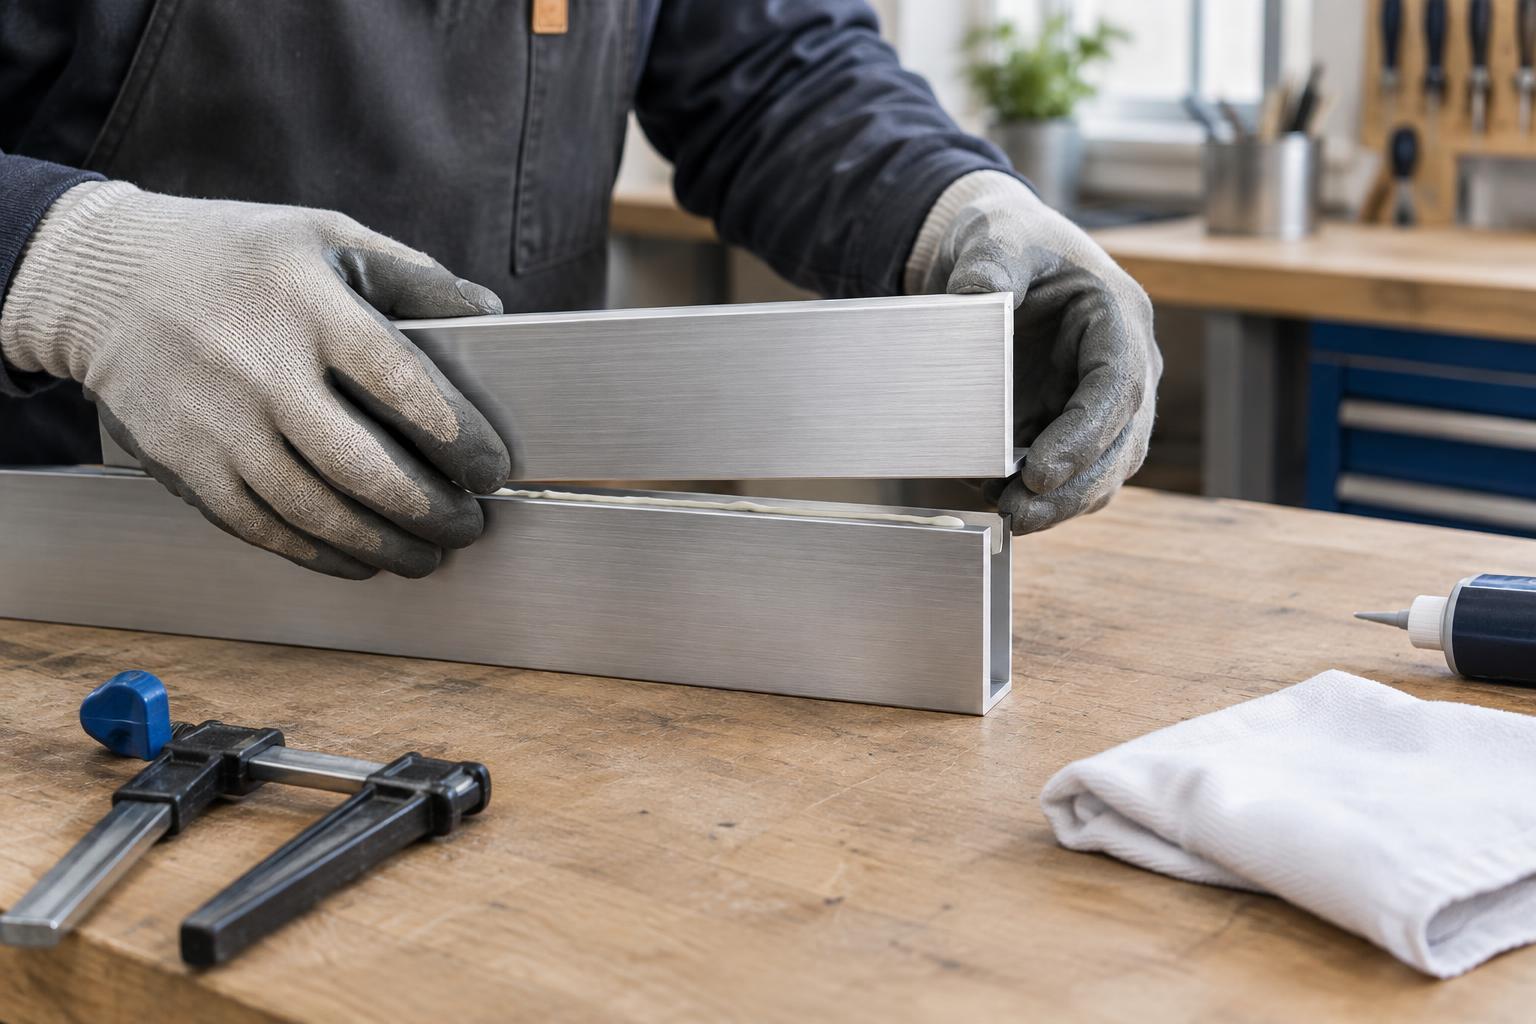
The goal during application is a repeatable layer in the right place. Too little adhesive can leave gaps; too much can create squeeze-out, interfere with neighboring features, or make cleanup difficult. Beads, dots, films, and spread layers suit different part shapes and workflows. For two-part products, mixing and dispensing must also be consistent so that material at the beginning of a run is handled like material at the end.
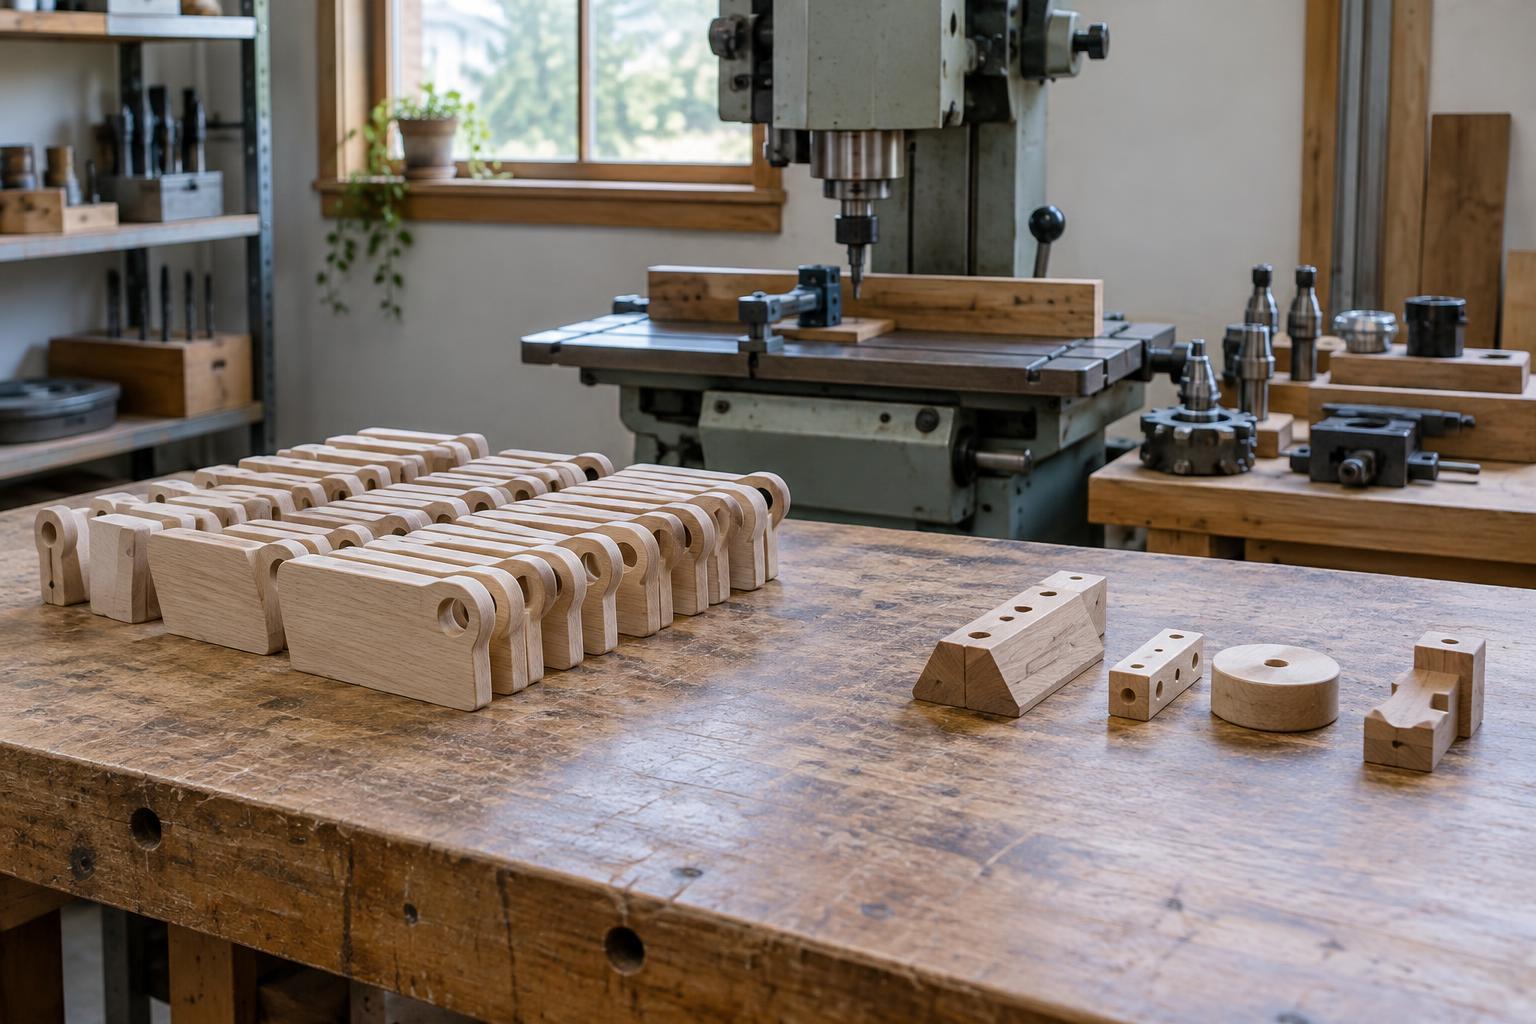
Fixtures can hold parts in alignment and apply appropriate pressure while the bond develops. They should support the assembly without shifting it or forcing all the adhesive out of the joint. Work instructions are most useful when they show where to apply the material, how to position the parts, what excess material is acceptable, and when the assembly may be moved. These details help different operators produce comparable joints.
Allow the bond to develop
An adhesive may stop feeling tacky before the joint is ready for service. Setting, handling, and full cure can be different stages, depending on the product. Temperature, humidity, adhesive thickness, and the materials being joined may affect the process. The manufacturer’s instructions for the selected adhesive should guide working time, clamping, curing conditions, and safe handling.
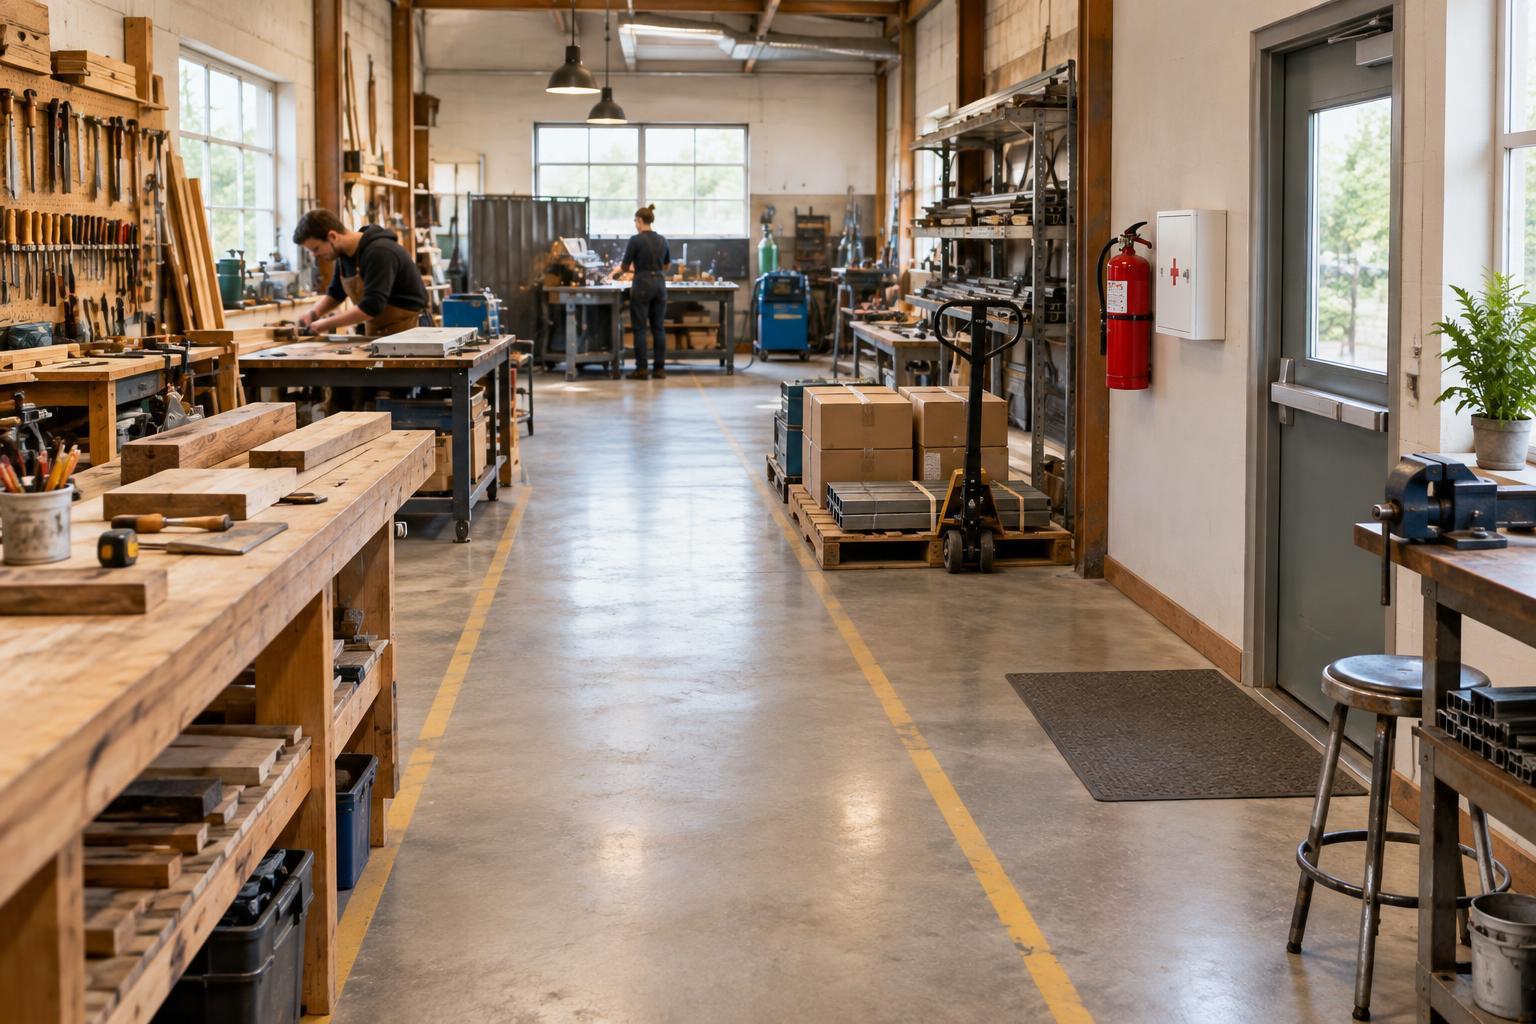
Production planning needs space for this waiting period. Moving an assembly too early can disturb alignment; stacking parts before they are ready can change the pressure on a joint. A clearly marked holding area, with a way to distinguish newly assembled parts from those ready for the next operation, reduces guesswork. If curing uses heat or another controlled condition, the parts and fixtures must be suitable for that process.
Inspect the process as well as the result
Some bonding problems are visible: a shifted part, a missed application area, unexpected squeeze-out, or a gap at the joint. Others remain hidden between the surfaces. Visual inspection is therefore useful but limited. For important joints, a workshop may also check sample assemblies using a suitable test method and record preparation, application, and curing conditions so defects can be traced to a process step.
A practical bonding checklist need not be complicated. Confirm the correct materials and adhesive, check that surfaces are prepared, verify placement and fit-up, and keep assemblies undisturbed for the specified period. If a joint fails, examine the surfaces and the production record before changing adhesives. The cause may lie in contamination, geometry, application, or curing—and a repeatable workflow makes those possibilities easier to distinguish.