Start with how people look for things
A storage system succeeds when a person can find an item and put it back without relying on someone else’s memory. Before making labels, watch how parts and materials move through the workshop. Which items are collected together? Which are needed at a particular bench? Which containers are opened often, and which hold occasional supplies? These questions reveal where storage should be located and what a label needs to say.
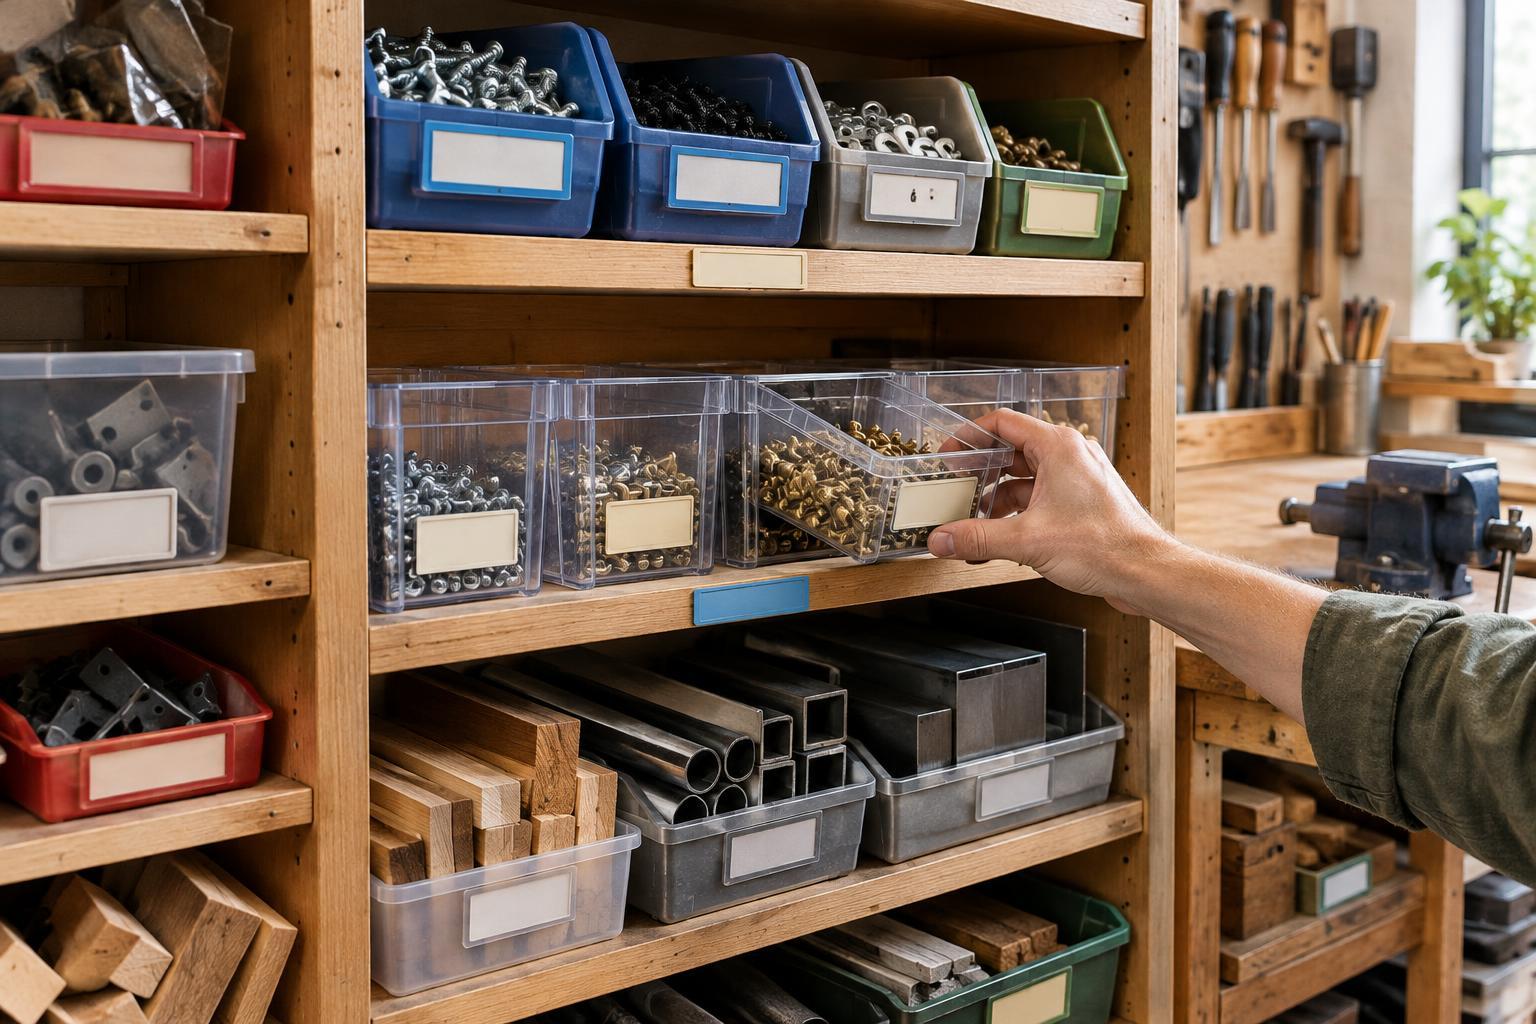
Give frequently used items accessible homes near the work that uses them, while keeping walkways and shared surfaces clear. Group similar items, but do not let a broad category hide important differences. A bin marked “fasteners” is less useful than one marked “M6 hex bolts, 30 mm” if several sizes sit side by side. Equally, an elaborate naming scheme may be unnecessary for a shelf with only three visibly different materials. Aim for enough detail to prevent a plausible mistake.
Separate the address from the contents
A location label identifies a stable place: a rack, shelf or slot. A bin label identifies what belongs in a container. Keeping these two ideas separate makes rearrangement easier. If a bin moves, its contents label moves with it; the new shelf still has its own address. A simple code might use W for a work area, R for a rack, S for a shelf and P for a position. The precise letters matter less than using the same pattern throughout the workshop.
Make addresses follow the physical route a person takes. Number racks from the entrance or another obvious starting point, shelves consistently from top to bottom or bottom to top, and positions from left to right. Post a small explanation of the pattern where people first encounter it. Before labeling everything, ask someone unfamiliar with the plan to find a few test locations. If they have to guess which end of a rack is position one, the scheme needs adjustment.
Write labels for the person holding the part
Put the most useful identifying words in the largest text. Include a size, grade, finish or other distinction when it changes which item should be selected. A short part code can help with records, but it should not be the only identifier unless everyone who uses the storage can recognize it. Where two items look alike, a brief description or an approved sample attached nearby may help people check their choice.
Place labels where they can be read from the normal approach to the storage, not only when a bin is pulled out. Use consistent text size, contrast and placement across comparable shelves. Avoid relying on color alone: colors can fade, lighting varies, and a new worker may not know what the colors mean. If containers are routinely washed, handled with dusty gloves or moved between areas, choose label materials and attachment methods that can withstand that use. A handwritten temporary label is better than an unlabeled bin, provided it is replaced when the contents and location are settled.
Give every item a home and every exception a process
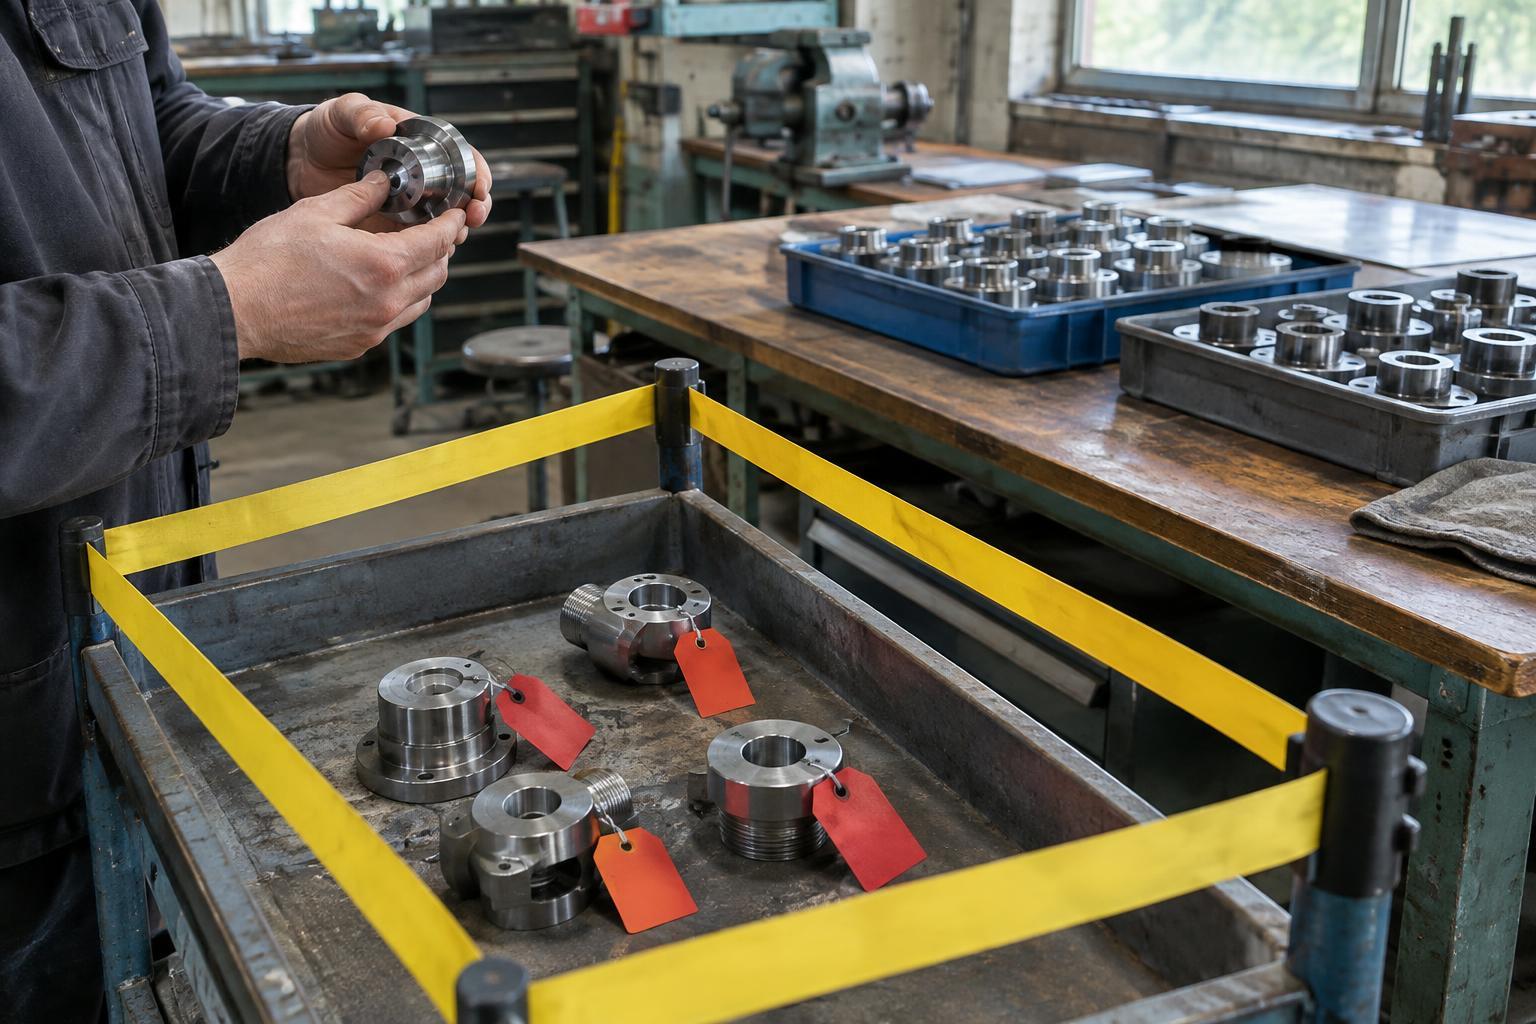
The hardest storage problems often come from exceptions: a delivery awaiting inspection, leftover material from a job or a part whose identity is uncertain. Assign visible places for these states rather than mixing them with ready-to-use stock. A clearly marked holding area tells people that an item has not yet been assigned a permanent home. Items that cannot be identified confidently should remain separate until someone can check them.
Allow space for the quantities the workshop actually handles. A perfectly labeled bin that overflows onto the next shelf will soon undermine both labels. If an item no longer fits, decide whether it needs a larger location, a separate overflow location with a clear reference, or a change in how much is kept nearby. When a container is empty, leave its label in place if the item is expected to return; remove or revise it when the storage assignment changes. The goal is for the label to describe the intended home, not merely today’s contents.
Keep the system accurate with small routines
Assign responsibility for changing labels when stock locations change, and make label supplies easy to access. Otherwise, people may create informal shortcuts: an unmarked box beside a rack, a crossed-out description or two items sharing a bin. A quick check during routine tidying can catch labels that are missing, obscured or inconsistent with their contents. It can also reveal whether the layout makes returning items awkward.
Treat repeated mistakes as feedback about the system rather than only about the person making them. If parts are often returned to the wrong shelf, check whether the addresses are visible and whether similar bins have enough distinguishing information. If an overflow area has become permanent, give it a defined address. A usable labeling system is not a one-time printing project. It is a shared map that stays useful because the workshop updates it when the work changes.