What a job kit needs to accomplish
A job kit brings together the parts, consumables, instructions, and job-specific tools needed for a defined piece of work. It might be a labeled tray for assembling a small product, a cart for a repair, or a set of bins staged beside a machine. The point is not to put everything in one container. It is to make the next task ready to start and straightforward to check.
Kitting can spare a worker repeated trips to storage and reduce the chance of discovering a missing component halfway through a job. It also moves some problem-solving earlier: if the right fastener is unavailable, the team can address that before the work area is occupied. These benefits depend on accurate preparation. A kit that merely looks complete can be more disruptive than no kit at all.
Define the job before collecting materials
Start with a clear boundary for the kit. Identify the job, product variant, quantity, and work stage it supports. An assembly kit may need cut components and hardware, while a finishing kit may need abrasives, masking materials, and labels. Keeping stages distinct helps prevent delicate parts from being handled unnecessarily or supplies from being issued long before they are needed.
Use the current drawing, parts list, or work instructions as the packing reference, but check that they match what the workshop will actually build. Similar-looking variants are a common source of errors. A useful checklist names quantities and distinguishes items that cannot be substituted casually, such as a particular thread size, finish, or orientation. If a component is intentionally supplied in bulk at the workstation, say so on the checklist rather than leaving an apparent gap.
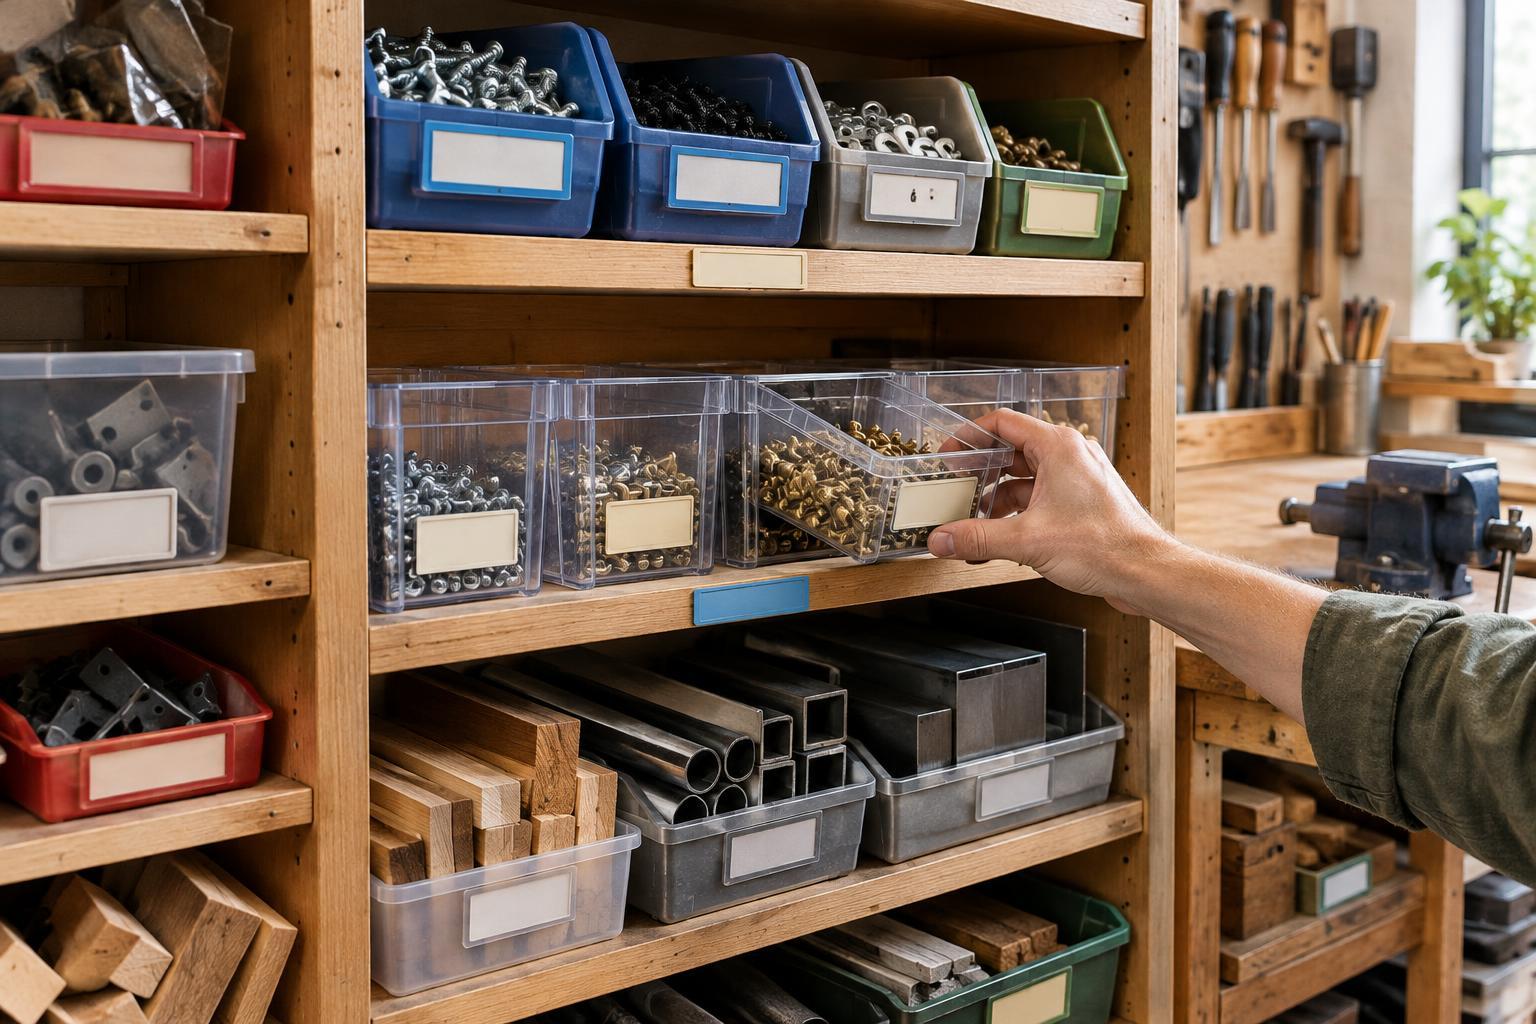
Package the kit so its contents can be identified without extensive unpacking. Labels should connect it to the job and revision, and small parts should be separated where mixing would cause mistakes. Protect finished surfaces and fragile components, but avoid so much packaging that checking and disposal become jobs of their own.
Make completeness a visible decision
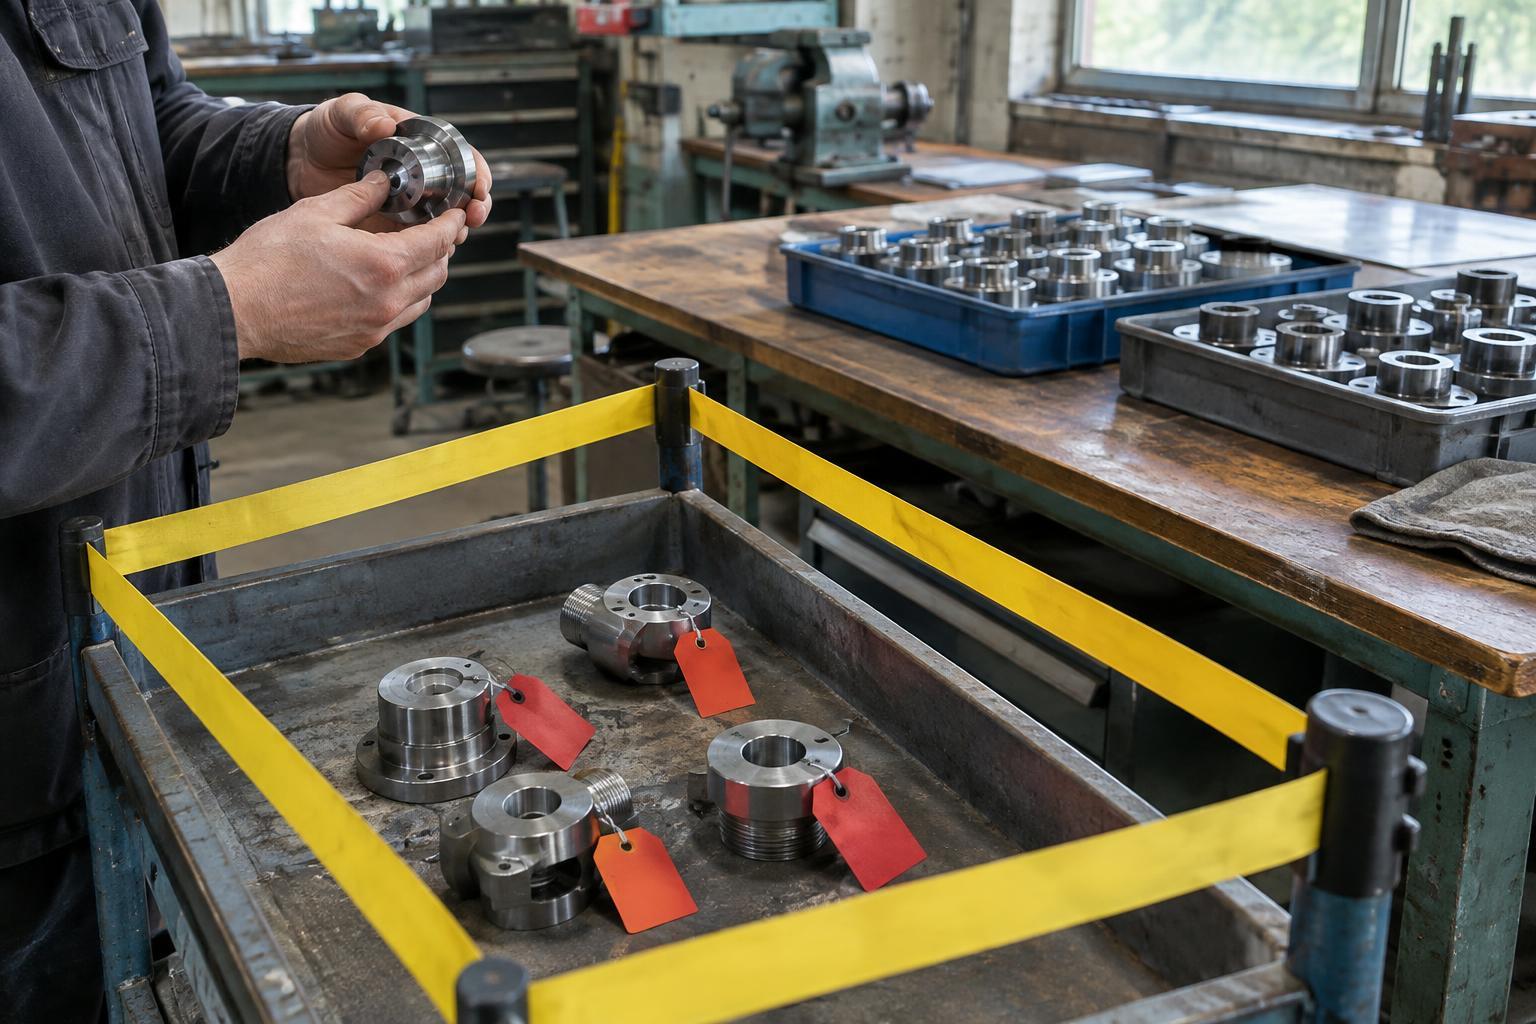
Decide who prepares the kit, who checks it, and what happens when something is missing. A second check may be worthwhile for costly, easily confused, or hard-to-replace parts; simpler jobs may only need a count against a checklist. The important distinction is between a kit that has been checked and one that has merely been gathered. A visible status label, including any shortage, helps the next person make an informed decision.
Do not quietly replace a specified part with a near match to make a kit appear complete. Hold the kit or mark the exception for the person authorized to approve a change. Likewise, record parts borrowed from one kit to complete another. Without that record, a shortage has only been moved to a later job.
When a job changes after kitting, revisit the contents as well as the instructions. An updated drawing does little good if the staged kit still contains the old hardware. A simple method is to return affected kits to a designated review area until their labels, parts, and instructions agree.
Stage kits without creating clutter
Kits should be easy to find and move in the order work is expected to start, but preparing too many can tie up parts and fill valuable floor space. Set a practical limit based on available storage, the stability of the schedule, and how quickly parts can be picked. Jobs that change frequently may benefit from kitting only the next stage rather than the entire order.
Give staged kits a defined location and keep their status clear: awaiting a part, ready for work, in progress, or returning to stock. Separate incomplete kits from ready ones so a hurried worker cannot take the wrong cart. Consider the physical route, too. A carefully prepared kit offers little benefit if it blocks access to equipment or requires repeated lifting to reach the bench.
Some materials are better managed as replenished workstation stock than as individual kit items. Common screws, wipes, or adhesives may fall into this group, depending on how they are used and stored. In that case, the kit checklist can point to the workstation supply, while someone remains responsible for checking and replenishing it.
Use problems to improve the process
Watch for recurring interruptions: missing items, excess parts returned after a job, damaged components, and time spent searching despite having a kit. Each points to a different cause. A wrong quantity may indicate an outdated parts list; damage may call for different separation or packaging; repeated searches may mean labels or staging locations are unclear.
Review the process with the people who pick, stage, and use the kits. Their observations can reveal steps that look tidy on paper but add unnecessary handling. Change one element at a time where possible, then see whether it makes preparation and use easier. The aim is not a perfect-looking cart. It is a dependable handoff that lets work begin with fewer surprises.