The basic idea: shaping plastic with air
Blow molding makes a hollow plastic part by placing warm, formable plastic inside a mold and using air pressure to push it against the mold cavity. The plastic cools while held in shape, then the mold opens and the part is removed. Bottles, jugs, ducts and protective housings can all be made this way, although their shapes and performance requirements call for different approaches.
Unlike a process that fills an entire cavity with plastic, blow molding forms a shell. That makes wall thickness a central concern: the material must stretch or flow far enough to reach every surface without leaving weak, thin areas. The opening, seams and any material left over from forming also need attention. A well-designed part accounts for these features before a tool is built.
Three common routes to a hollow part
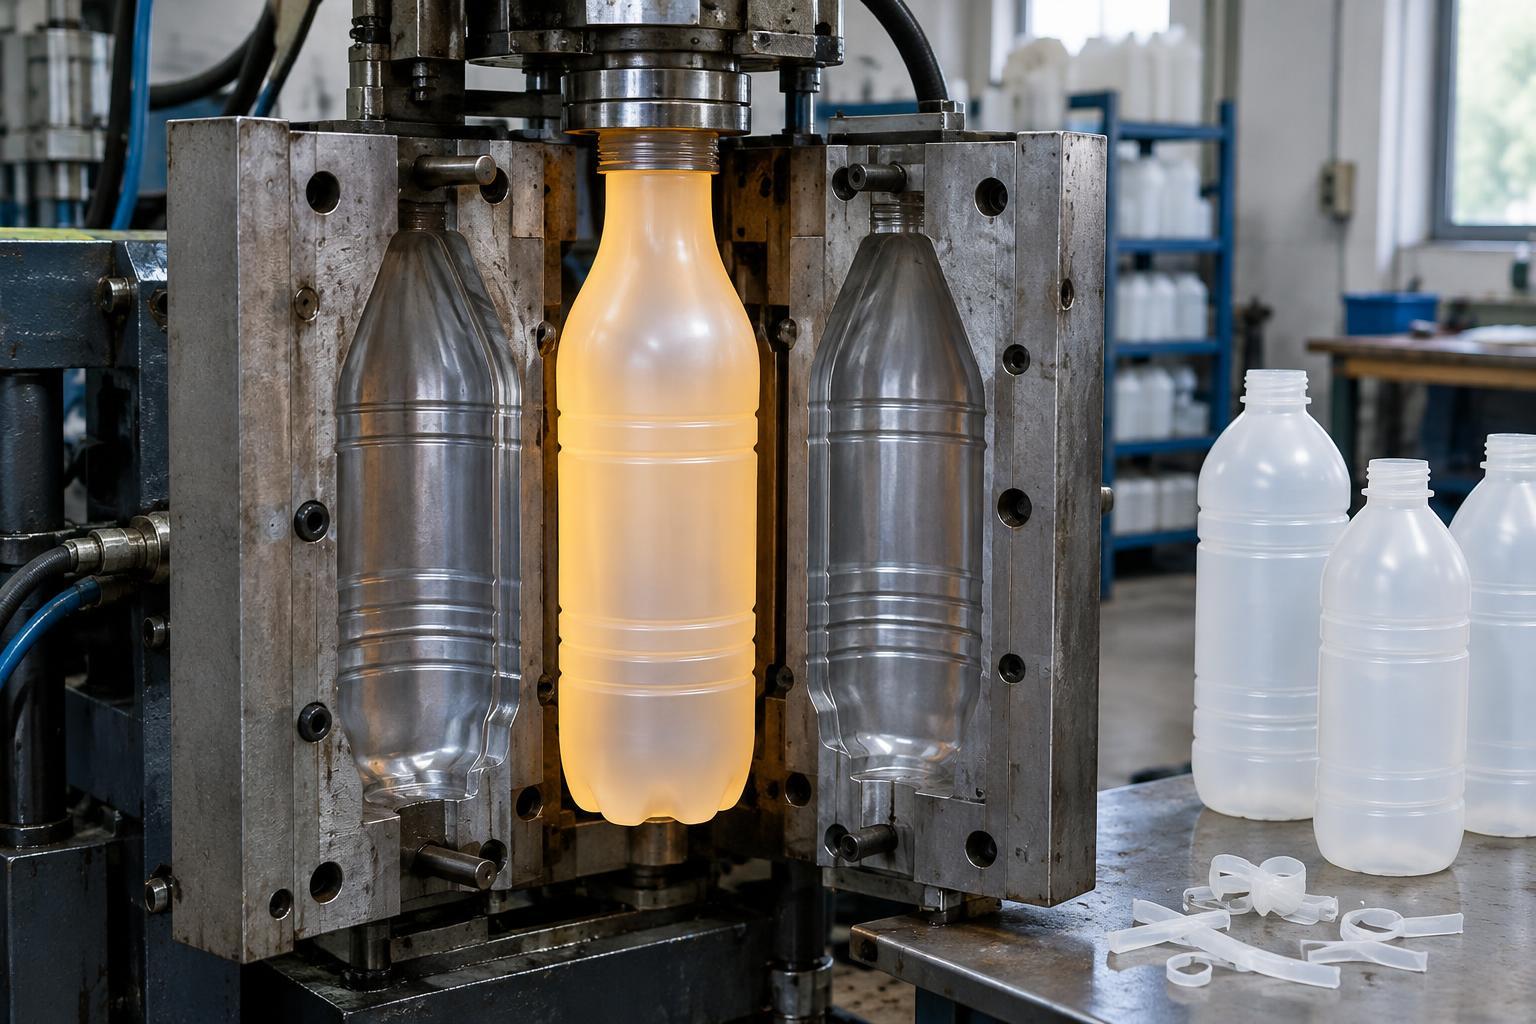
In extrusion blow molding, molten plastic leaves an extrusion die as a hanging tube called a parison. A mold closes around the tube, pinching it shut where needed. Air enters through a blow pin, inflating the parison against the cavity. After cooling, the part is released and excess plastic, known as flash, is trimmed. This route is often useful for containers with handles or for irregular hollow shapes. The pinch-off seam and trimming are normal parts of the process.
Injection blow molding begins with an injection-molded preform around a core rod. The preform moves into a blow mold and is inflated to its final shape. Forming the neck during injection can provide a controlled opening and thread. Injection stretch blow molding adds a stretching step, commonly used with PET containers. Stretching and blowing together can help distribute material and develop properties suited to the intended container, provided the preform, temperature and final shape are matched carefully.
These methods are not interchangeable simply because they all use air. Part geometry, neck detail, material, expected production volume and acceptable finishing work influence the choice. A shape that suits an extruded tube may be awkward to form from an injection-molded preform, while a container needing a consistent molded neck may favor a preform-based route.
Material and shape decisions
HDPE is widely used for extrusion-blown containers because it can form a durable, squeezable shell. PET is common in stretch-blown bottles where clarity is important. Other plastics, including polypropylene, may be suitable for particular designs. Material selection should start with the part’s contents, expected handling, temperature exposure and any applicable product requirements. A familiar material name alone does not establish that a finished part is fit for a specific use.
Shape affects both appearance and strength. A broad, flat panel may flex more noticeably than a gently curved one, while a deep recess can draw material thin. Sharp transitions can concentrate stress and make thickness harder to control. Designers may use radii, ribs or changes in contour to support a panel without simply adding material everywhere. The opening must also work with the intended cap, dispenser or mating component.
For extrusion blow molding, the parison can stretch unevenly as it inflates. A processor may adjust how much material is placed along its length to improve the finished wall distribution. For preform-based methods, preform design and temperature control play similar roles. In each case, the aim is not necessarily identical thickness at every point, but enough material where the part needs it.
Cooling, trimming and quality checks
Once the plastic reaches the mold wall, it must cool enough to hold its shape when released. Cooling time and mold temperature affect the pace of production and the consistency of the part. Releasing a part too early can allow it to distort; leaving it in the mold longer than necessary occupies the tool. Trimming may then remove flash, cut the opening or tidy the base, depending on the method and design.
Useful checks begin with the part’s purpose. A container may need a stable base, a sound seal at the neck and walls that withstand normal handling. A duct may need to fit its mating parts and maintain an open passage. Visual inspection can catch obvious defects, but dimensions, wall thickness and leak testing may also matter. When a defect appears, its location offers clues: a thin corner can suggest excessive stretching, while a poor seam may point to pinch-off or trimming conditions.
Using material and workshop time responsibly
Efficient blow molding is not just a matter of making the lightest possible part. Removing too much material can lead to failures and discarded products. A better goal is to put material where it serves a purpose, then confirm that the part works as intended. Thoughtful geometry, steady process settings and regular checks can reduce avoidable rejects.
Extrusion blow molding often produces flash, which may be collected and, where the material and product requirements allow, returned to the process. Keeping materials separated and clean makes such reuse more practical. Clear work instructions for setup, trimming and inspection also help a workshop distinguish a routine adjustment from a recurring design problem. The result is a process that treats plastic, tooling time and finished-part reliability as connected concerns.