How an injection molding cycle works
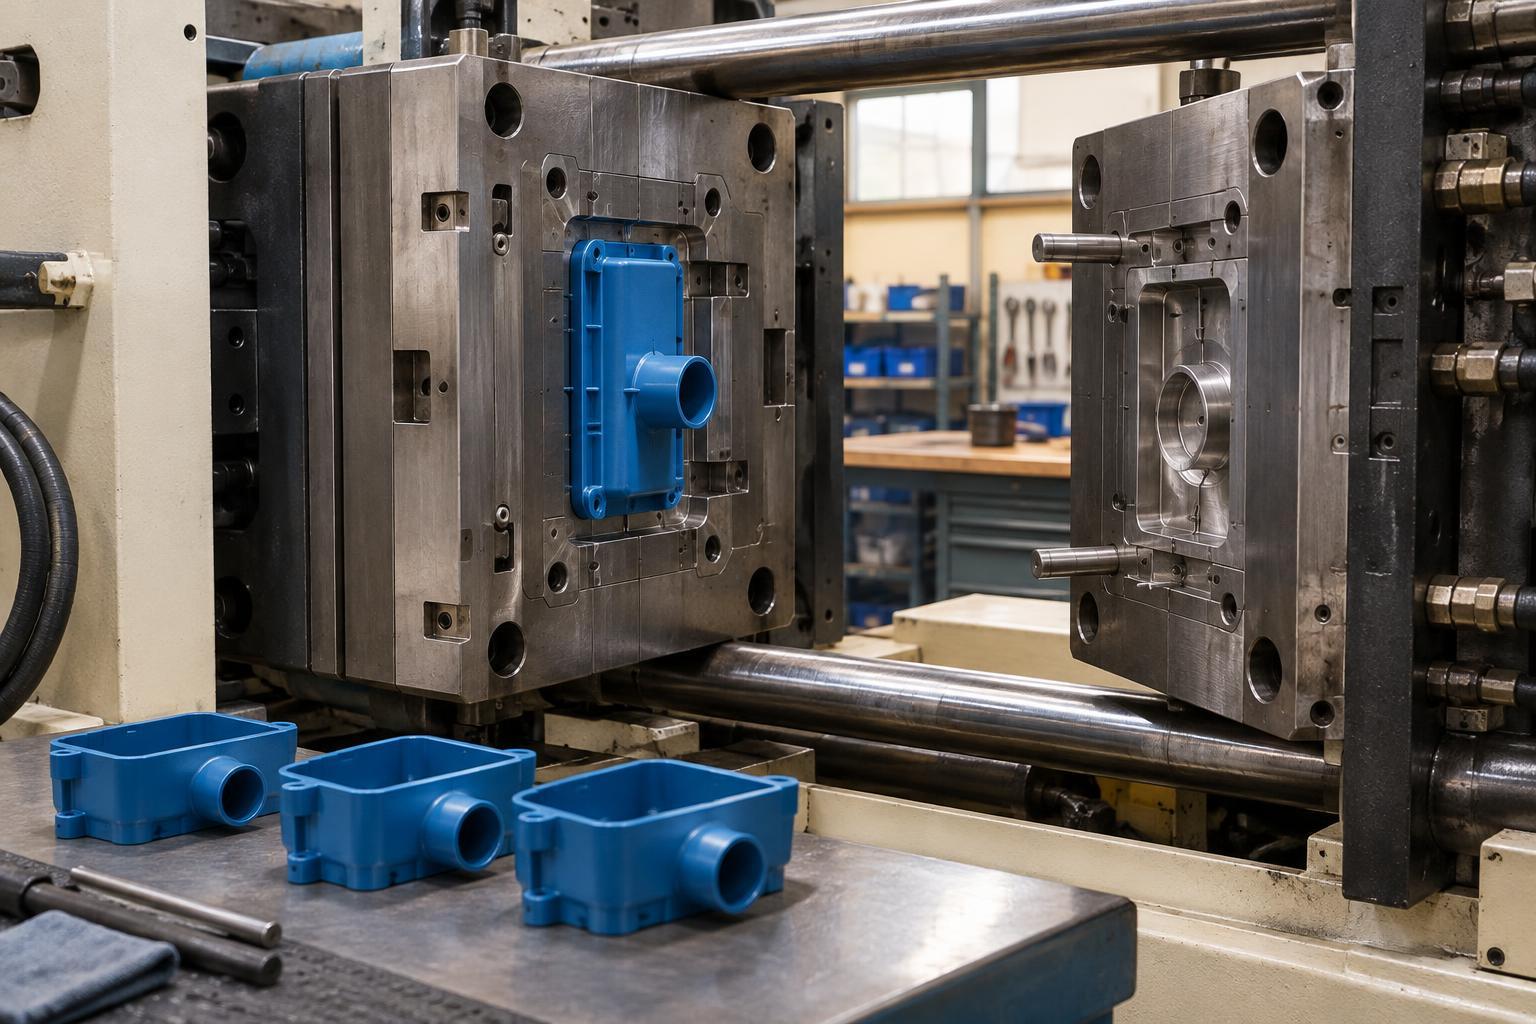
Injection molding makes plastic parts by pushing heated material into a closed mold. Plastic pellets enter a heated barrel, where a rotating screw melts and moves them forward. The machine then injects the melt into the space that gives the part its shape. After the material cools enough to hold that shape, the mold opens and ejector pins or other mechanisms release the part.
The method is well suited to producing the same geometry repeatedly, particularly when a part needs features such as ribs, clips, or mounting points formed in one operation. It also involves a substantial upfront tooling effort. A workable design must account not only for the finished part, but also for how molten plastic enters the mold, how trapped air escapes, how heat leaves the part, and how the part will be removed.
What the tooling has to do
A mold is more than a hollow impression of a product. Its core and cavity form the part’s surfaces; channels carry molten plastic toward that space; and a gate marks where the plastic enters the part. Cooling passages help remove heat, while vents let displaced air escape. The parting line is where the mold halves meet. Ejector pins, sleeves, or other release features push the solidified part out.
Tool design affects both appearance and reliability. A gate placed in a visible area may leave a mark; a poorly vented region may be difficult to fill. Parts generally need draft, a slight taper on surfaces parallel to the opening direction, so they can release without scraping or sticking. Deep undercuts may require moving tool components, adding complexity. Designers can often simplify a mold by revisiting a feature before tooling is built rather than asking the tool to accommodate it later.
Why cycle time matters
Cycle time is the time required to make one molding shot, from closing the mold through filling, packing, cooling, opening, and ejection. A shot may produce one part or several, depending on the mold. The machine also needs time to prepare the next measured amount of molten plastic, often while the current shot cools.
Cooling frequently takes a significant share of the cycle. Thick sections generally cool more slowly than thin ones, so one bulky feature can delay the whole part even if most walls are slender. Uniform wall thickness, sensible rib proportions, and effective cooling passages can help make cycles more consistent. Simply opening the mold sooner is not always a saving: a part ejected while too soft may bend, shrink unevenly, or stick. The useful target is a repeatable cycle that produces acceptable parts, not the shortest possible cycle in isolation.
Common defects and what they can indicate
A short shot is a part that did not fill completely. Possible contributors include restricted flow, insufficient injected material, or trapped air. Flash is a thin excess of plastic along a parting line or another tool interface; it can point to problems with mold fit, clamping, or process settings. Sink marks appear as shallow depressions, often where a thick region cools and contracts beneath the surface. A gate or packing approach that does not adequately feed that region may make sink more noticeable.
Other defects reveal how material moved and cooled. A weld line can appear where two flow fronts meet, especially after flowing around a hole or insert. Warpage occurs when a part bends away from its intended shape as it cools and contracts unevenly. Visible defects do not always have a single cause: part geometry, material choice, mold condition, and machine settings interact. A mark that is acceptable on a hidden face might be unacceptable on a display surface, so inspection criteria should reflect the part’s intended use.
Designing and troubleshooting for repeatability
Good results begin with clear priorities. Before finalizing a part, identify critical dimensions, surfaces that must look clean, and features that must fit or flex. Discuss likely gate locations, draft, wall transitions, and ejection marks while the design can still change. A sample part can then be assessed for both function and appearance rather than judged only on whether the mold filled.
When a defect appears, first establish where and when it occurs: on every part or intermittently, in one cavity or several, and near which feature. Record the conditions and change one relevant variable at a time where practical. That makes it easier to distinguish a process adjustment from a tooling or design problem. Injection molding is most effective when the part, tool, material, and cycle are treated as one system.