Start with the part and its load paths
A composite part is built by combining reinforcement, often glass or carbon fiber, with a resin that binds the fibers and transfers loads between them. Unlike a uniform sheet of metal, a laminate can be tailored by placing fibers in directions that suit the forces the part is expected to carry. That flexibility is useful, but it makes the layup plan part of the design rather than a detail to decide at the bench.
Before cutting material, the team needs to know the part’s shape, intended fiber directions, thickness targets and surface requirements. A ply schedule records the order and orientation of the layers. It may also identify local reinforcement around holes, corners or attachment points. The schedule should be practical to place: a theoretically neat stack is less useful if fabric wrinkles when asked to follow a tight curve. Sample pieces or a trial layup can reveal those difficulties before production begins.
Prepare the mold and place the fibers
The mold establishes the surface and geometry of the finished part. It should be clean, sound and prepared with a release system suited to the resin and mold materials. Where a smooth visible face matters, dust, damage or gaps at mold joints can show up on the part. Tools, cut plies and consumables are best organized before mixing resin or exposing time-sensitive prepreg material, so placement does not become a race against working time.
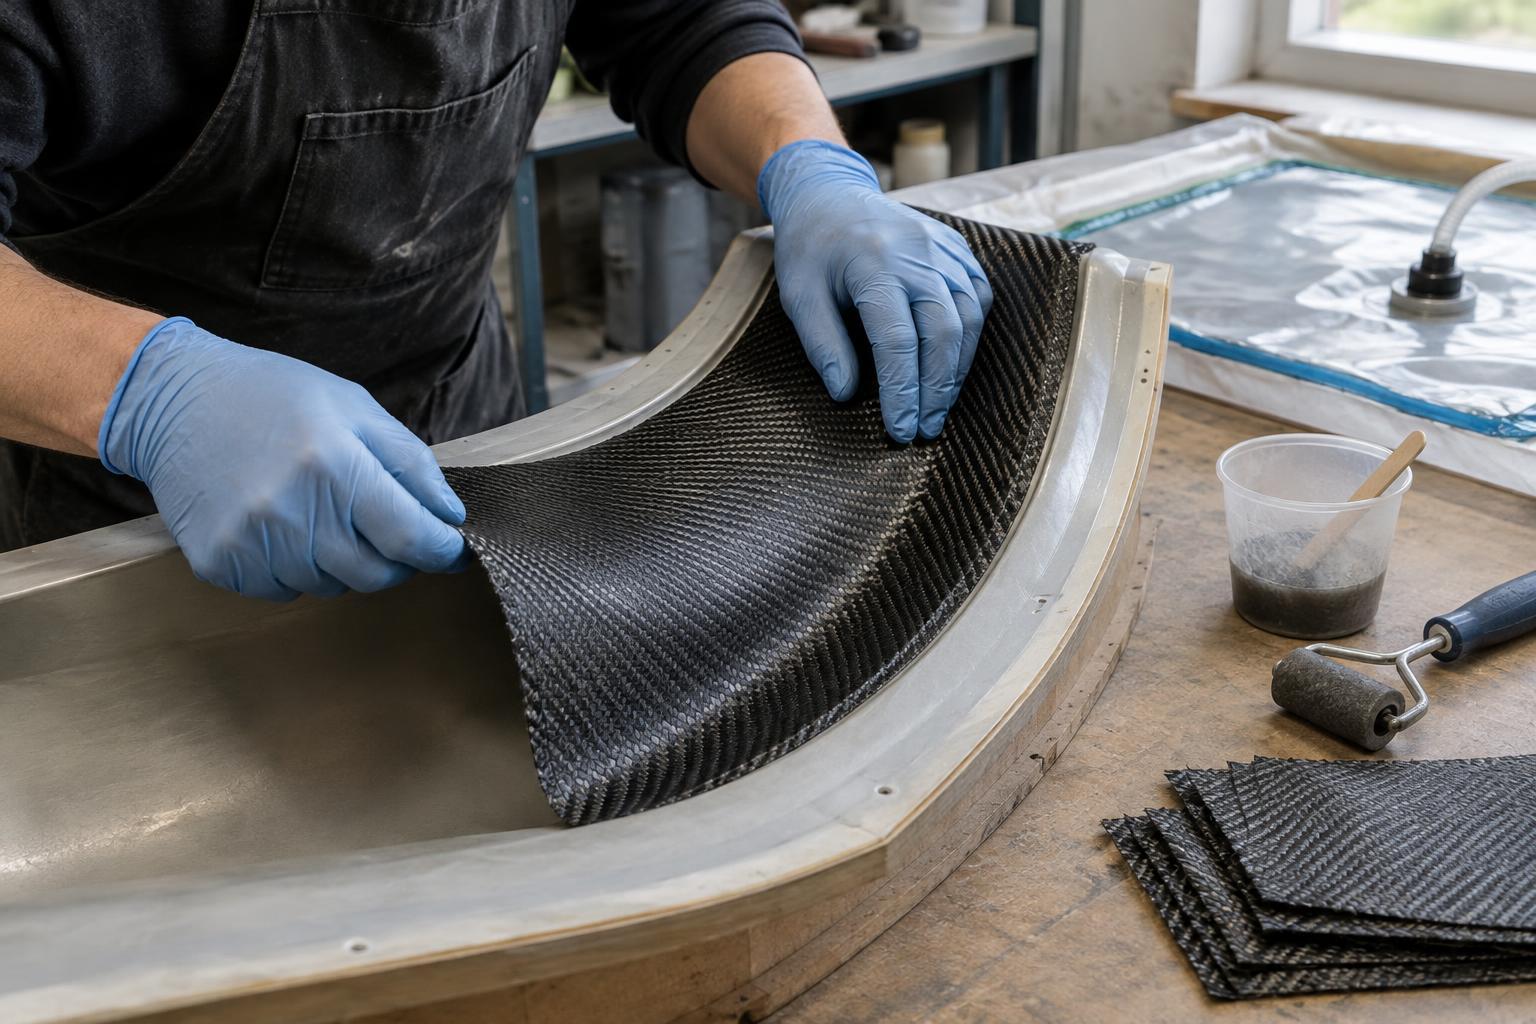
During layup, each ply is positioned against the mold or the preceding layer without folds, unintended gaps or excessive overlap. Fiber orientation matters most where the design depends on it, so reference marks and a clear sequence help prevent a rotated or omitted ply. Corners and changes in section need particular care: fabric may bridge over a recess rather than settle into it, leaving a void beneath. Small cuts or shaped pieces can improve fit, but changes to reinforcement should be considered against the intended load path, not made only for convenience.
Control resin and compact the stack
In wet layup, resin is applied as the dry reinforcement is placed. The goal is to wet the fibers thoroughly without treating extra resin as extra strength. Excess resin adds weight and can make laminate thickness less predictable, while dry areas leave fibers poorly bonded. Prepreg arrives with a controlled amount of resin already in the reinforcement, but it still requires careful handling and placement within the conditions specified for that material.
Compaction presses layers together and helps remove trapped air. Hand tools can work on accessible wet-layup surfaces; vacuum bagging applies pressure more evenly across complex shapes. A typical bagging arrangement may include peel ply, release film, breather material and a sealed bag, with each layer serving a different purpose. The exact arrangement depends on the process and desired surface. Before curing, checking the seal and watching how the bag conforms around corners can expose leaks or bridging that would otherwise become defects in the part.
Cure according to the material and process
Curing is the stage in which the resin hardens into a stable matrix. Some systems cure at room temperature; others require a controlled heating cycle, sometimes with pressure. Temperature, time and the way heat reaches a thick or complex part all influence the result. A part that feels hard at the surface has not necessarily completed the cure called for by its material system.
The resin supplier’s process guidance and the part’s agreed specifications should determine the cure schedule rather than guesswork. For heated cures, gradual changes in temperature may help manage uneven heating and movement between the laminate and mold. Bag seals, vacuum lines and temperature measurement points need attention throughout the cycle. Recording the actual conditions gives the workshop a way to investigate a problem and repeat a successful result.
Demold, finish and learn from the result
After the prescribed cure and cooling period, the part can be released with tools and methods that avoid damaging its edges or mold surface. Trimming removes excess material; drilling or machining may complete attachment features. These operations should account for dust and exposed fiber edges, with suitable controls for the material being worked. A cosmetic finish can improve appearance, but it should not be used to hide an uncertain laminate beneath.
Inspection begins with straightforward checks: shape, thickness where specified, edge condition and visible signs of wrinkles, dry fibers, resin-rich pockets or trapped air. More demanding parts may call for additional checks chosen for their intended use. Not every surface mark indicates a structural problem, and not every internal problem is visible, so acceptance criteria are best set before production. Notes from cutting, layup, bagging and cure connect the finished part to the choices that shaped it—and help make the next build more consistent.