Start with the fabric, not the pattern outline
A pattern gives a fabric part its shape, but the material determines how that shape behaves. Woven fabric has lengthwise and crosswise grain: lengthwise threads run parallel to the selvage, while crosswise threads run across the width. These directions can stretch, drape, and recover differently. When a pattern marks a grain line, aligning it consistently helps finished parts hang and handle as intended.
Before laying out pieces, let the fabric lie flat without pulling it into position. Check whether the edges and visible weave are straight, and note any directional print, pile, or difference between the face and back. A piece rotated to save fabric may appear identical on the cutting table yet look or behave differently after assembly. Some products call for a deliberate bias cut, but that choice should be part of the pattern rather than an accidental result of nesting pieces.
Treat seam allowance as part of the specification
The seam line defines the finished shape; the seam allowance is the material between that line and the cut edge. Confusing the two changes the size of the assembled part. A useful pattern states whether allowance is included, identifies the intended seam width, and marks any edges that need a different treatment, such as a folded hem or enclosed seam. If several people cut and sew from the same pattern, this information should not depend on memory.
Allowance also gives the operator a reference for feeding parts through the machine. A consistent guide on the machine bed or presser foot can help keep the seam line in the same place. On curves, notches and other matching marks show where parts should meet, but they do not replace careful handling: stretching one edge to make it reach the next mark can distort the finished shape. After a seam is sewn, pressing it as specified makes the next operation easier to judge.
Build repeatability into cutting
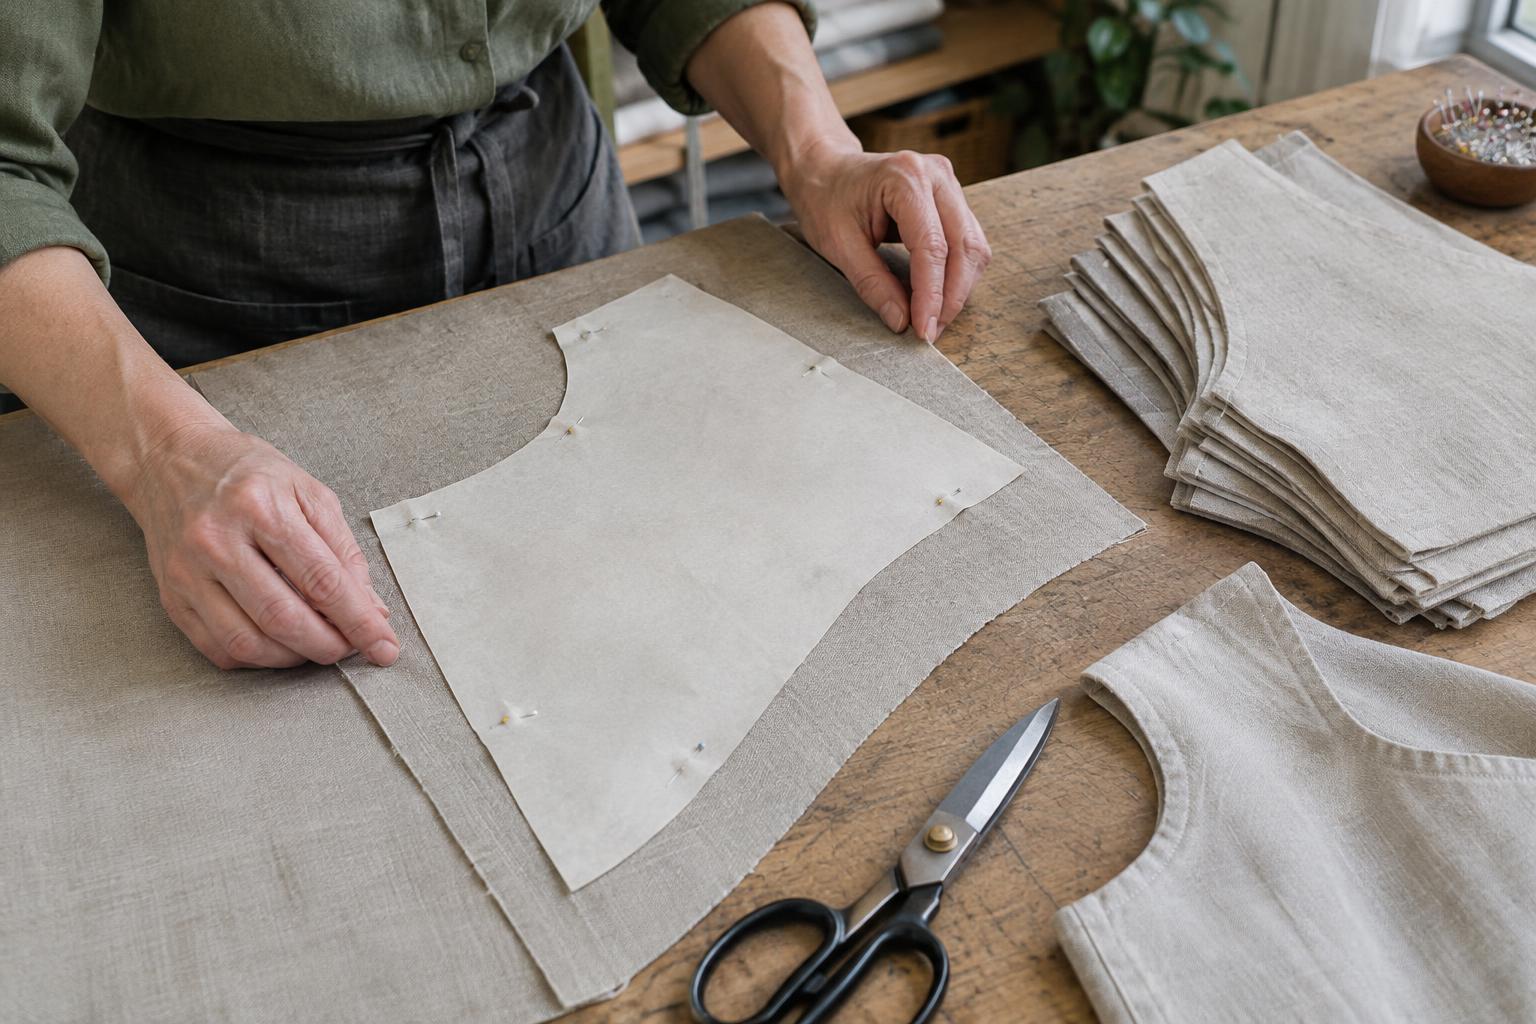
Repeatable cutting begins with a stable pattern and a clear layout. Mark the grain direction, piece name, quantity, and any face-up requirement on each template. Lay pieces so the grain lines remain parallel to the intended fabric direction, then check the arrangement before cutting. When fabric has a print or pile, decide whether matching or one-way placement matters and allow room for it; the most compact layout is not always the most useful one.
Keep the fabric supported and avoid shifting it while cutting. Sharp, suitable tools make it easier to follow a pattern edge without dragging the cloth. For stacked layers, check that the layers remain aligned and that the bottom pieces match the top ones; a neat top cut does not guarantee a neat stack. Transfer notches and reference marks in a consistent way, taking care not to weaken edges that will carry stress. Bundling cut pieces by product or size can prevent similar-looking parts from being mixed.
Check the assembled result, not just the cut piece
A small first run is a useful test of the whole method. Sew a sample using the intended fabric, thread, seam setting, and order of operations. Check whether corresponding edges meet at their marks, whether the part lies as expected, and whether the finished dimensions match the pattern’s intent. If an adjustment is needed, record it on the master pattern and instructions before cutting more pieces. Otherwise, individual operators may solve the same problem in different ways.
During production, compare occasional pieces and seams with an agreed sample. Look for changes in grain alignment, seam width, edge shape, and the placement of marks. When a mismatch appears, trace it back through cutting, marking, and sewing rather than assuming the last operator caused it. A simple record of the pattern version, fabric orientation, and machine setup helps a workshop repeat a successful result. The goal is not to eliminate every judgment call, but to make the important ones visible and consistent.