Start with the stock and the finished parts
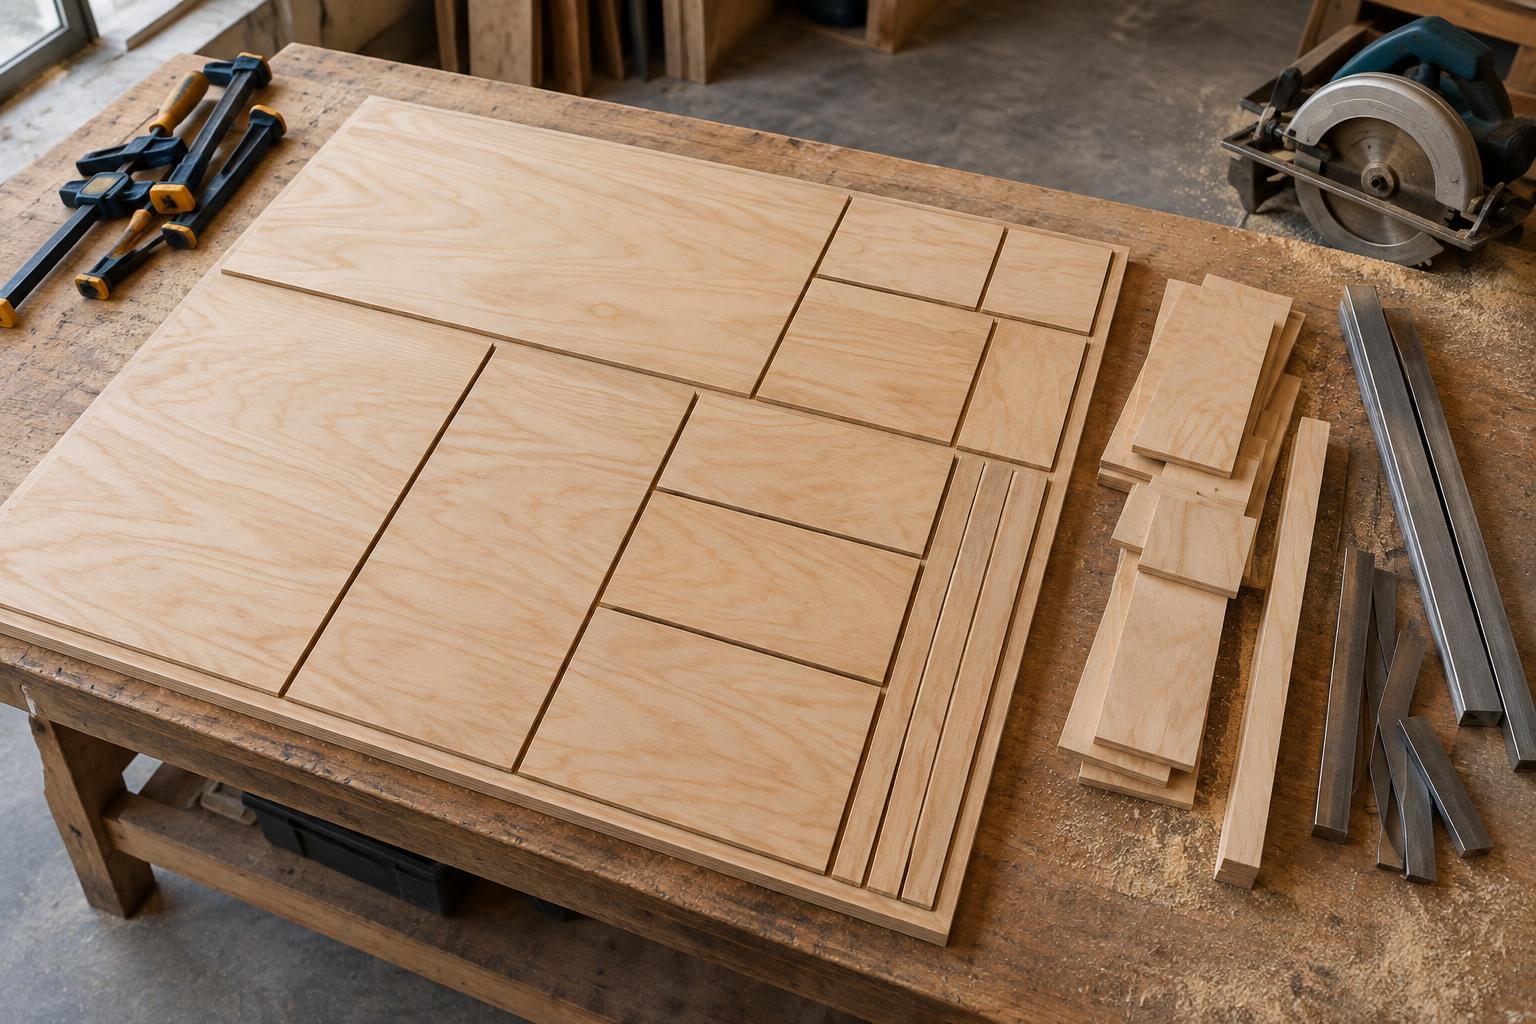
Cut-list nesting is the arrangement of required parts within a sheet or along a length of bar stock. The aim is not simply to fill every available space. A useful layout produces parts of the right size and orientation, leaves room for the cutting process, and keeps the work manageable at the machine. Material saved on paper is of little value if a part cannot be held securely or needs to be cut again.
Begin with a complete list of parts: quantity, finished dimensions, material, thickness and any required direction. Record the actual dimensions of available stock rather than relying only on its nominal size. A sheet may have an edge that needs trimming, while a bar may have an end that must be squared. Mark visible defects and areas that cannot be used. These details establish the usable area before any layout begins.
Allow for the cut, not just the part
Every cut removes material. That loss, often called kerf, depends on the tool and process. A layout that places two finished parts directly against one another has not allowed for their separating cut. If parts will be rough-cut and then brought to final size, include that extra material as well. Test cuts and measurements on the intended setup are more reliable than an assumed allowance.
The order of cuts matters too. With sheet stock, long straight cuts can divide a large sheet into strips that are easier to handle, but they may also prevent a more efficient arrangement of small parts. With bar stock, the saw blade consumes material at each cut, and gripping a short final piece may be difficult. Leave enough material for safe support, clamping and any end finishing. A plan should specify both where pieces fit and how they will be cut.
Respect direction, quality and handling
Rotation can make a nesting pattern look much tighter, but not every part can be rotated. Wood grain may need to run in a particular direction for appearance or strength. Sheet metal, veneer, printed surfaces and other directional materials may also have an orientation that matters. Note these constraints on the cut list before trying to optimize the layout.
Place parts with visible faces or demanding finishes in the best areas of the stock. Route less critical parts around knots, scratches or other imperfections when their specifications permit it. Then check the proposed cutting sequence at the bench or machine. Can each piece be supported as the surrounding material is removed? Will clamps, guides or a machine bed remain accessible? A slightly less compact layout may be the better choice if it reduces awkward handling and the risk of spoiled parts.
Compare layouts by usable yield
For a small job, a scaled sketch or a set of paper rectangles may be enough to compare options. For a larger cut list, a spreadsheet or nesting tool can help test combinations. Sheet layouts benefit from checking different part groupings and cutting directions. Bar layouts often improve when long and short parts are paired thoughtfully across multiple lengths rather than cutting all parts of one size first.
Compare each option using more than its apparent percentage of filled space. Count the parts actually obtained, the number of stock sheets or bars required, the expected setup and handling, and the size of remaining pieces. A narrow strip that cannot be used for an anticipated job is waste even if it looks tidy on a drawing. Conversely, a clearly labeled offcut with a useful width, length and material specification can be valuable inventory.
Make the plan repeatable
Once a layout is chosen, give it enough detail to survive the move from desk to workshop. Identify the stock piece, part labels, orientation, cut order and allowances. If several people may use the plan, distinguish finished dimensions from rough-cut dimensions. Keep labels with the parts as they are cut so similar-looking pieces do not have to be measured and sorted again.
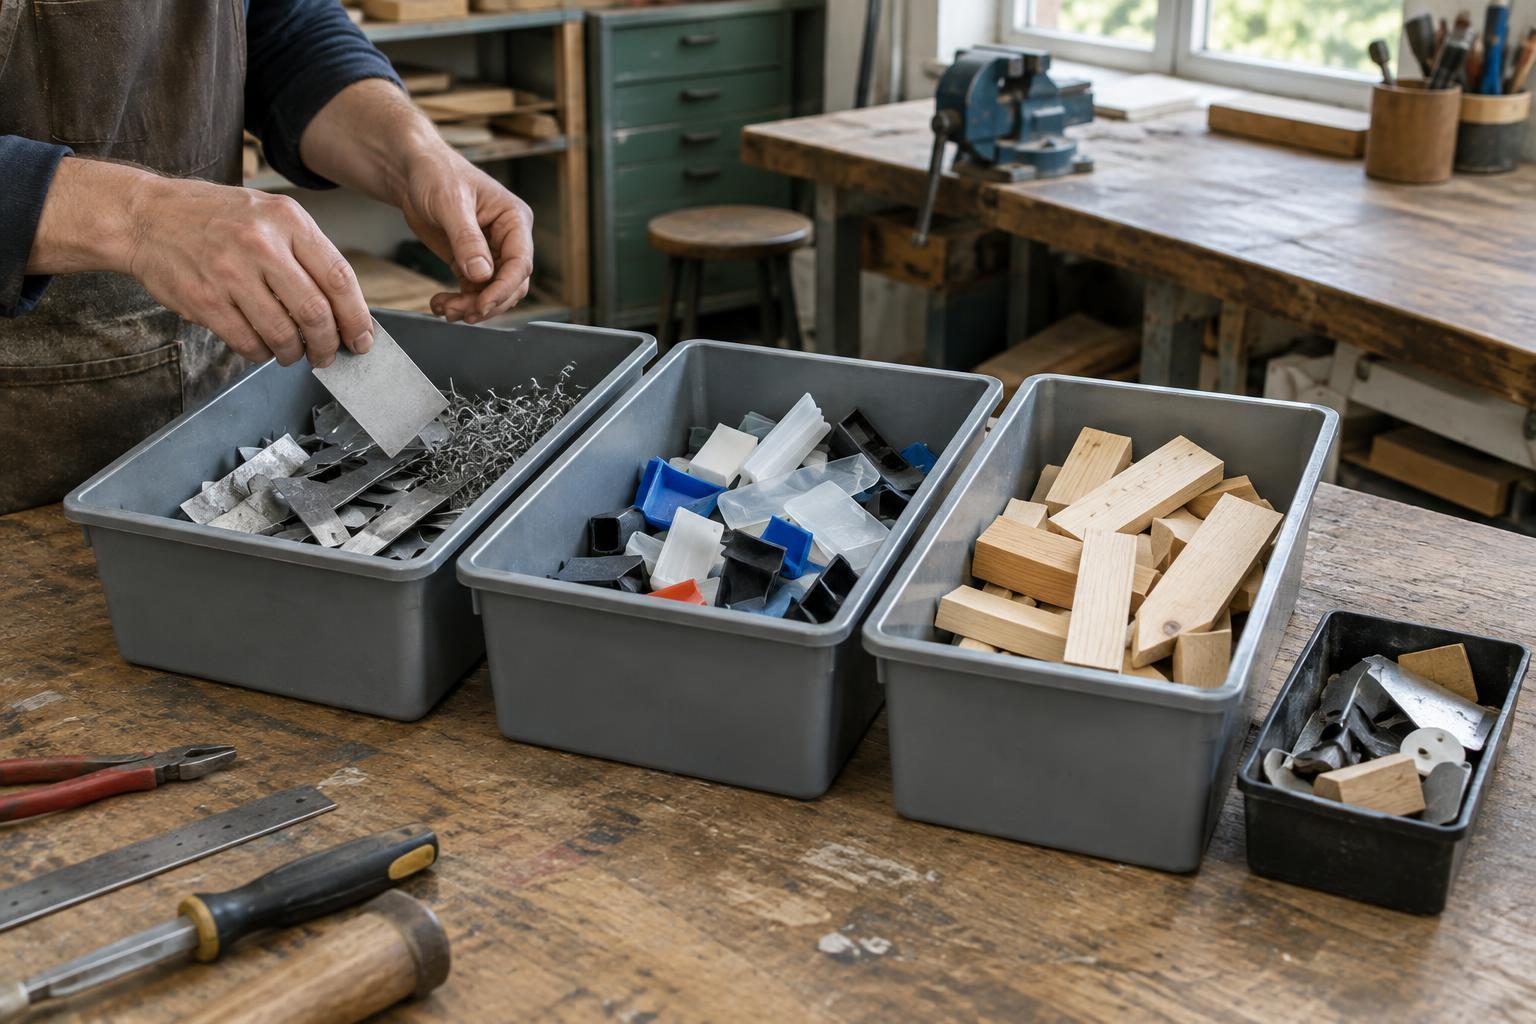
After the job, compare the planned yield with what was actually produced. Record why the layout changed: an unexpected defect, an allowance that was too small, or an offcut that was difficult to hold. Store worthwhile remnants with their dimensions and material clearly marked, and remove scraps that are unlikely to be usable. Nesting improves when each cut list draws on accurate stock records and on practical lessons from previous work, not just on a tighter drawing.