Start by identifying the edge you have
Cutting, drilling, milling and punching can leave a burr: a thin projection of material at an edge or hole. Some stand proud and catch a fingertip; others fold over the edge and remain attached. Deburring removes these projections, but it should not automatically turn every edge into a broad chamfer or a rounded corner.
Before choosing a method, inspect a representative part under good light. Note where burrs form, whether they are consistent, and which surfaces must keep their dimensions or appearance. A hole that guides a pin, a sealing face and an edge intended to be gripped may each need different treatment. Drawings or agreed finish requirements should guide the result. When those requirements are unclear, it is better to define an acceptable edge before processing a full batch.
Use hand tools where control matters most
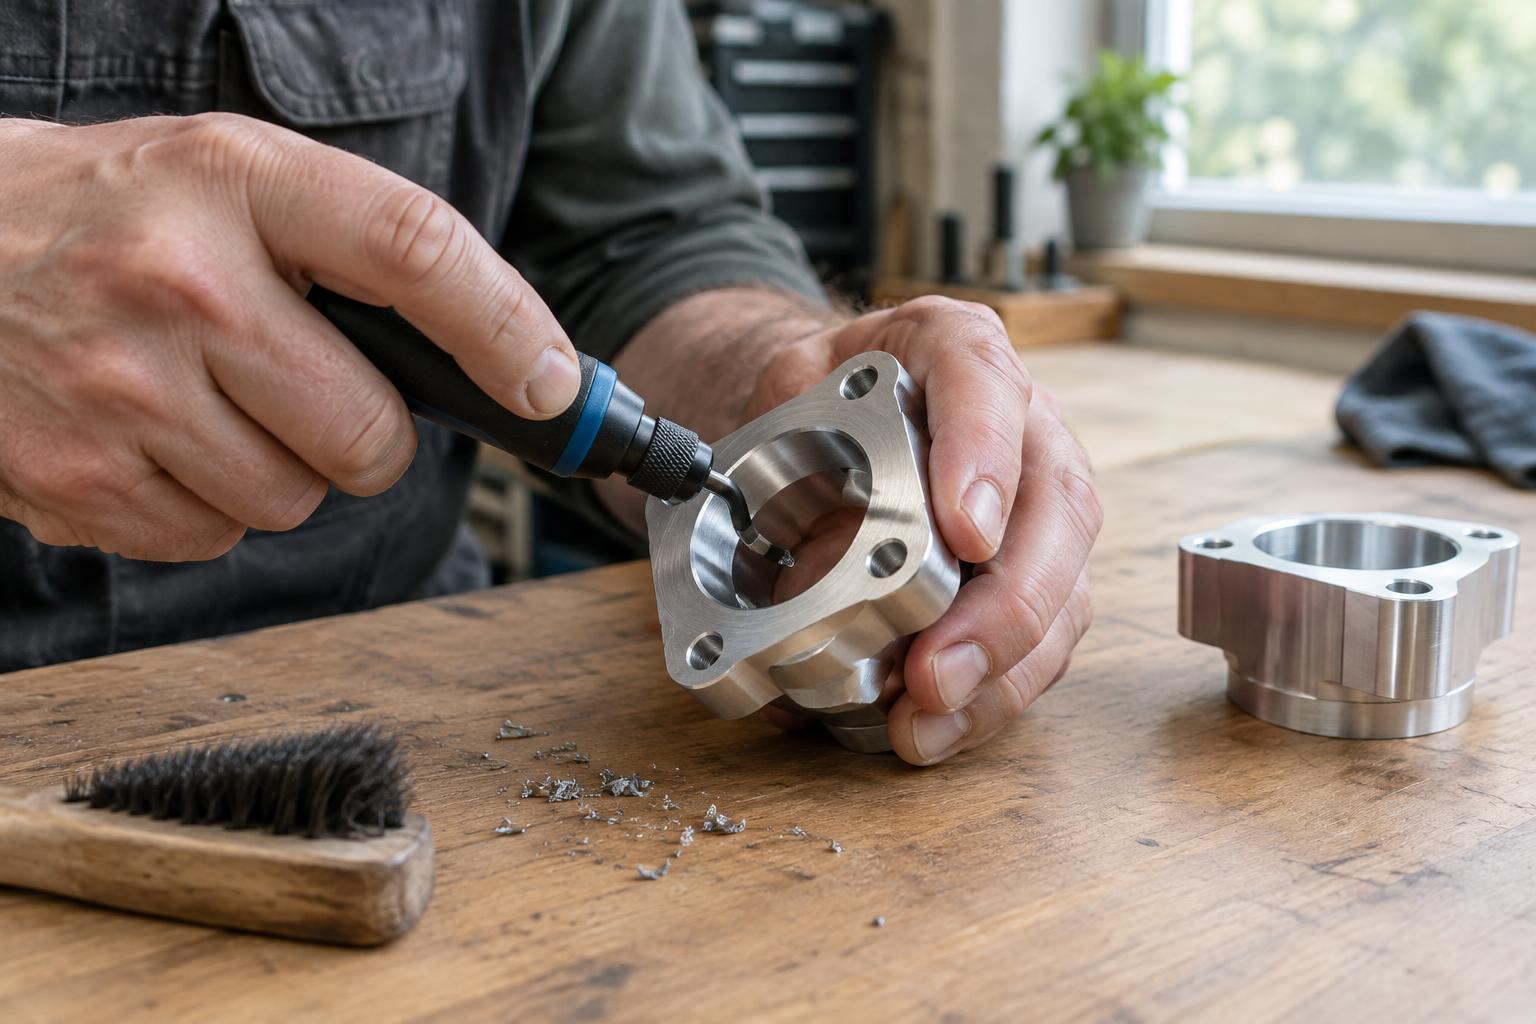
A file, scraper, deburring blade or abrasive pad lets an operator work on a specific edge without exposing the entire part to abrasion. Hand deburring is particularly useful for prototypes, small batches and parts with one or two accessible burr locations. Support the work securely, use light passes and check the edge often. Heavy pressure can dig into a soft material, enlarge a hole entrance or leave an uneven chamfer.
Tool shape matters as much as technique. A blade that follows a hole may work well on a drilled opening but be awkward near a shoulder. A fine file can reach an external corner while risking scratches on an adjacent finished face. Masking or a simple holding fixture can protect visible surfaces and help keep the tool at a repeatable angle. If the edge is hard to reach or every part takes extensive handwork, the earlier cutting operation may deserve attention too.
Match abrasive and batch methods to the part
Abrasive brushes, belts and wheels can remove light burrs quickly on accessible edges. They also affect the surrounding surface, so pressure, contact angle and time should be controlled. A flexible brush may follow a complex profile, while a belt is better suited to a broad, exposed edge. Neither should be assumed safe for a thin wall, a precise corner or a surface that must retain its original texture.
Vibratory finishing and other media-based processes treat many parts at once. They can be efficient when parts are robust and need a fairly uniform edge break, but the media must be able to reach the burr. Parts may strike one another or retain media in pockets and holes. Trial pieces can reveal whether the process removes the burr without dulling details, changing critical dimensions or marking cosmetic faces. Keep delicate parts separated if contact damage is a concern.
Consider specialized processes for difficult burrs
Cross-holes, narrow passages and intersecting features can make mechanical access difficult. Processes such as electrochemical or thermal deburring may be considered for certain geometries and materials. These are not general substitutes for a blade or brush: suitability depends on the part, its finish requirements and the available process controls. They also require appropriate equipment, handling and cleanup.
The useful question is not which method is most powerful, but which removes the unwanted material while leaving the wanted geometry alone. For a complex part, that may mean combining methods: a controlled operation for hidden intersections and a light manual pass on an exposed edge. Test the sequence on sample parts before making it the standard route.
Check the result and reduce burrs upstream
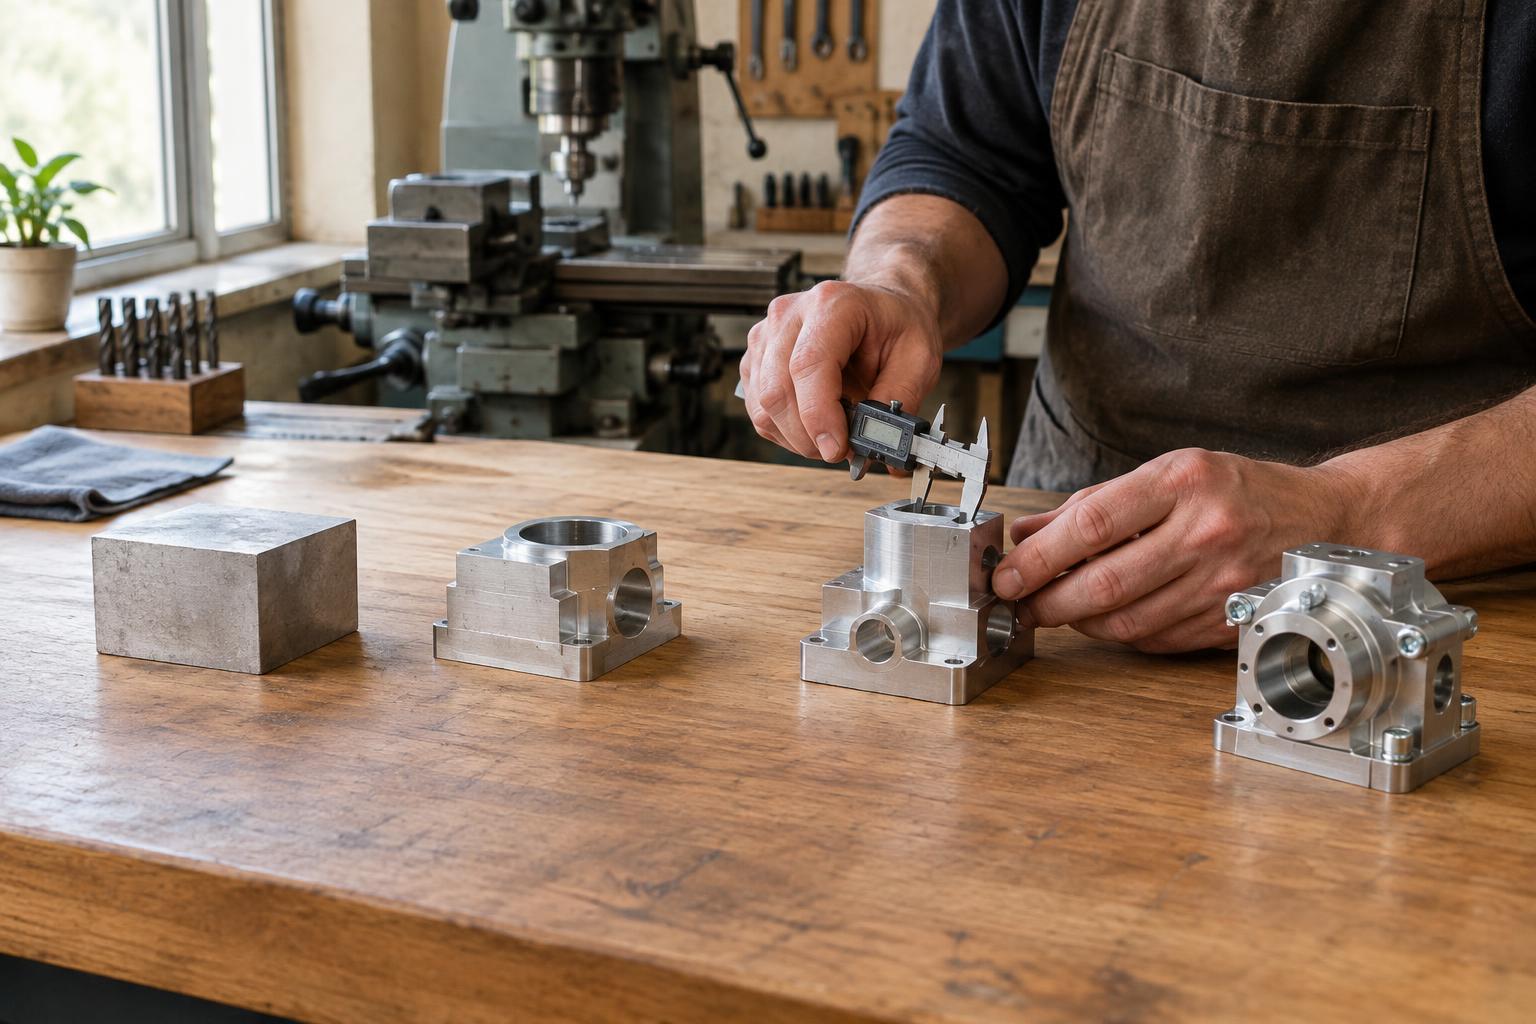
Inspection should look beyond whether an edge feels less sharp. Check for remaining projections, loose fragments, scratches, altered hole entrances and inconsistent edge breaks. Use the same viewing conditions and checks across parts where possible; for critical fits, verify the relevant dimensions after deburring. Clean away filings and abrasive residue before assembly or finishing, especially around blind holes and recesses.
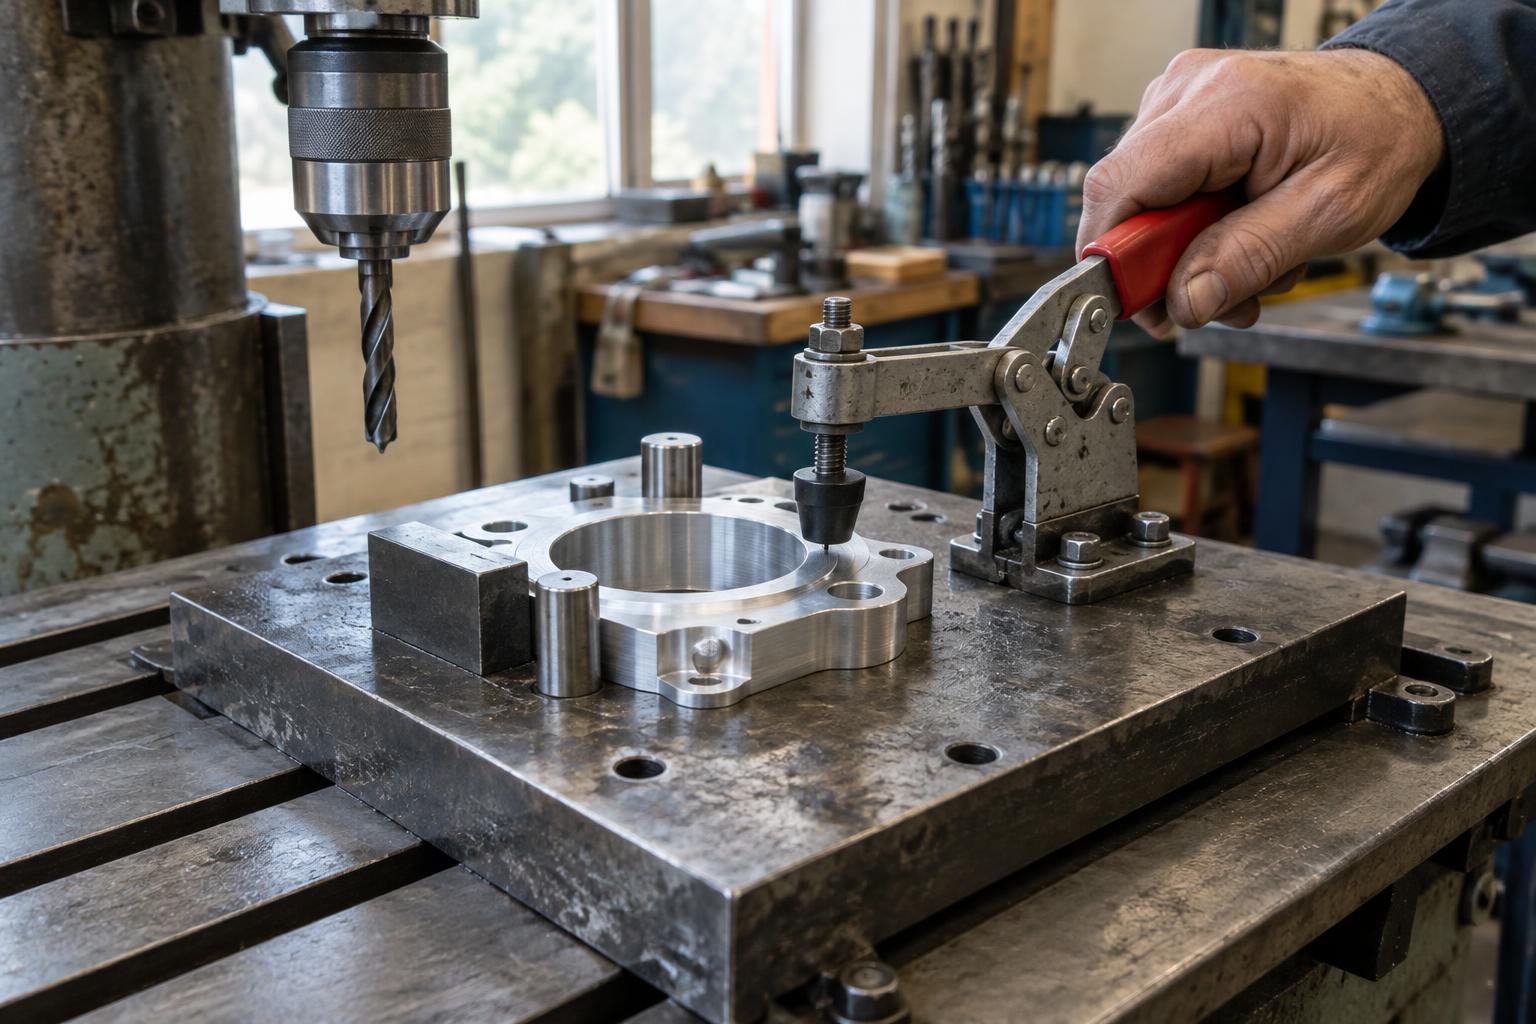
Deburring is easier to manage when it is treated as part of the production method rather than a final repair. Tool wear, cutting direction, feeds, support during punching and the order of operations can all influence where burrs appear. Recording recurring burr locations and the method that removes them reliably helps the workshop adjust the earlier process. The goal is a repeatable edge that is safe to handle and still true to the part’s intended function.