Start with the finished part and work backward
A production route is the ordered path a part takes from incoming material to a finished component or assembly. A useful route names each operation, but it also explains what that operation needs from the previous one. Planning begins with the finished requirements: dimensions, fit, visible surfaces, coating, and any features that must line up with another part. From there, work backward to identify the surfaces and reference points needed to create and check those features.
Consider a small bracket with mounting holes and a visible finish. If the holes must align with a mating part, the route should establish reliable reference edges before drilling. If bending changes the position of those edges, hole-making may belong after bending—or the route may need a fixture that locates the bent part consistently. Neither order is automatically correct. The drawing, equipment and acceptable tolerances determine which sequence can be controlled in that workshop.
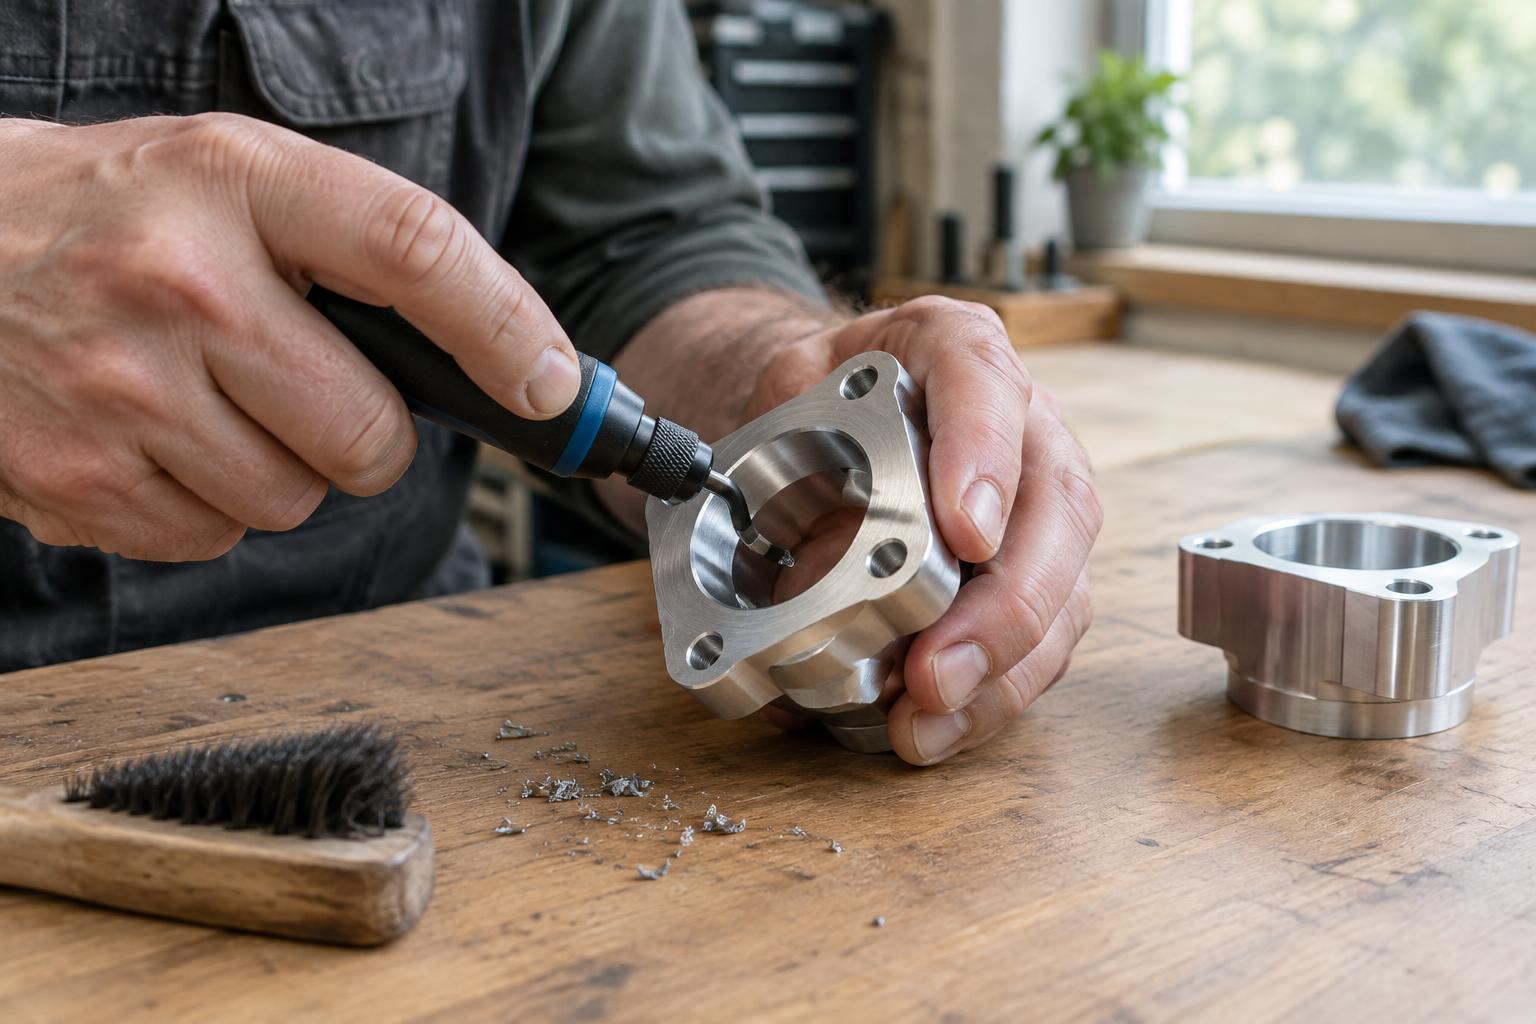
Write down the input and expected output of each step. “Cut blank to size” is more useful when it also identifies which edges will serve as references later. This simple exercise exposes missing operations, such as deburring before a part enters a close-fitting fixture.
Protect reference features and access
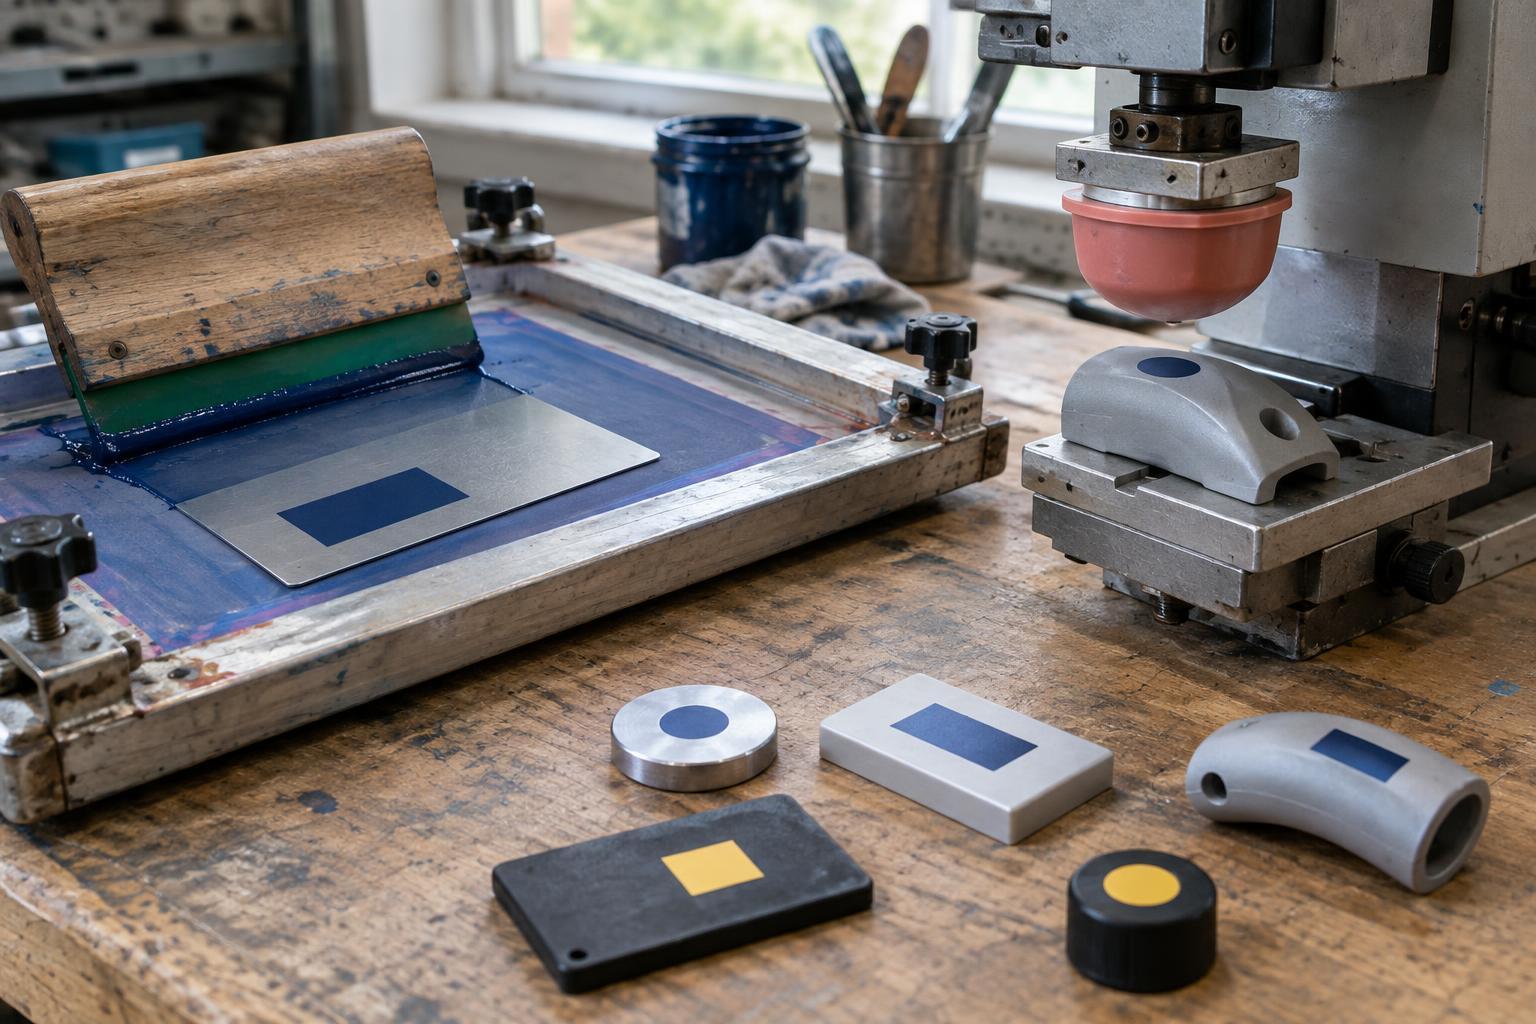
Operations can remove, distort or cover features needed downstream. A freshly machined face may provide a dependable reference for drilling, while a later coating can make it less suitable for precise location. A joined assembly may be too large to reach with a tool that could easily reach each component. When comparing possible sequences, ask what each step makes easier—and what it makes impossible.
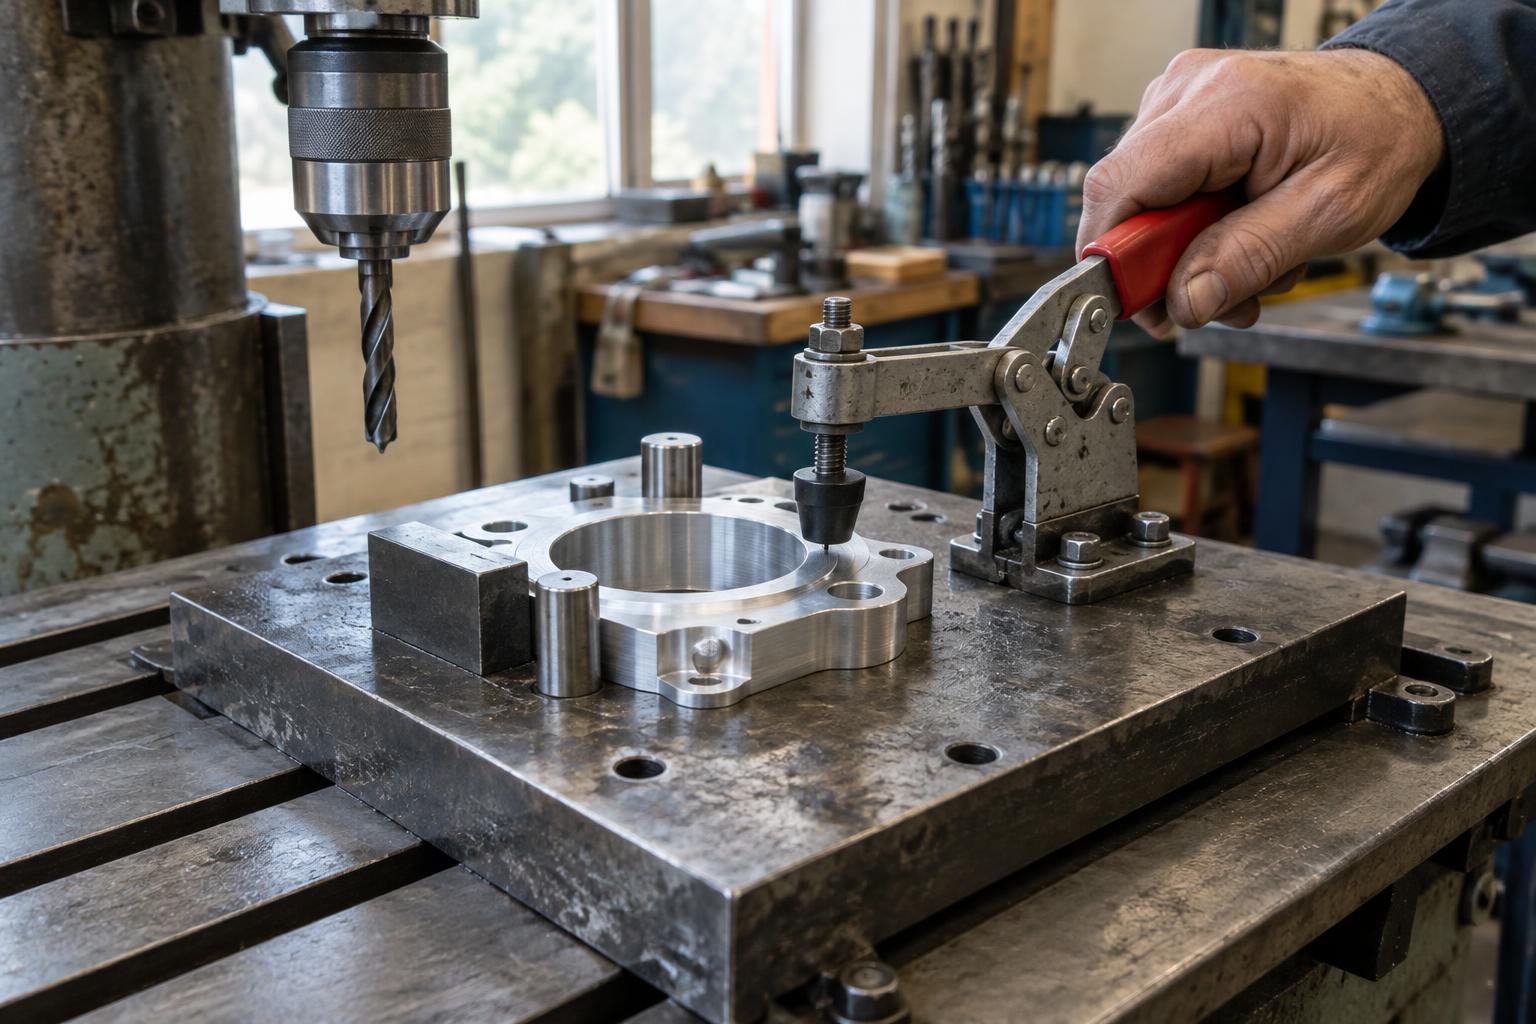
Keep critical reference features identifiable for as long as they are needed. In a wood workshop, for example, marking a reference face and edge helps prevent parts from being measured from different sides at successive stations. In metalworking, a fixture may serve the same purpose by repeatedly locating the part against chosen surfaces. The method can vary; the aim is to avoid accumulating small differences because each operation starts from a new, unrelated reference.
Also plan for handling. A route that requires repeatedly turning a heavy, delicate or freshly finished item may introduce damage even when every individual operation is sound. Moving drilling or fitting ahead of a vulnerable surface treatment can sometimes reduce that risk, provided the earlier work will not interfere with finishing.
Put checks where they can prevent expensive corrections
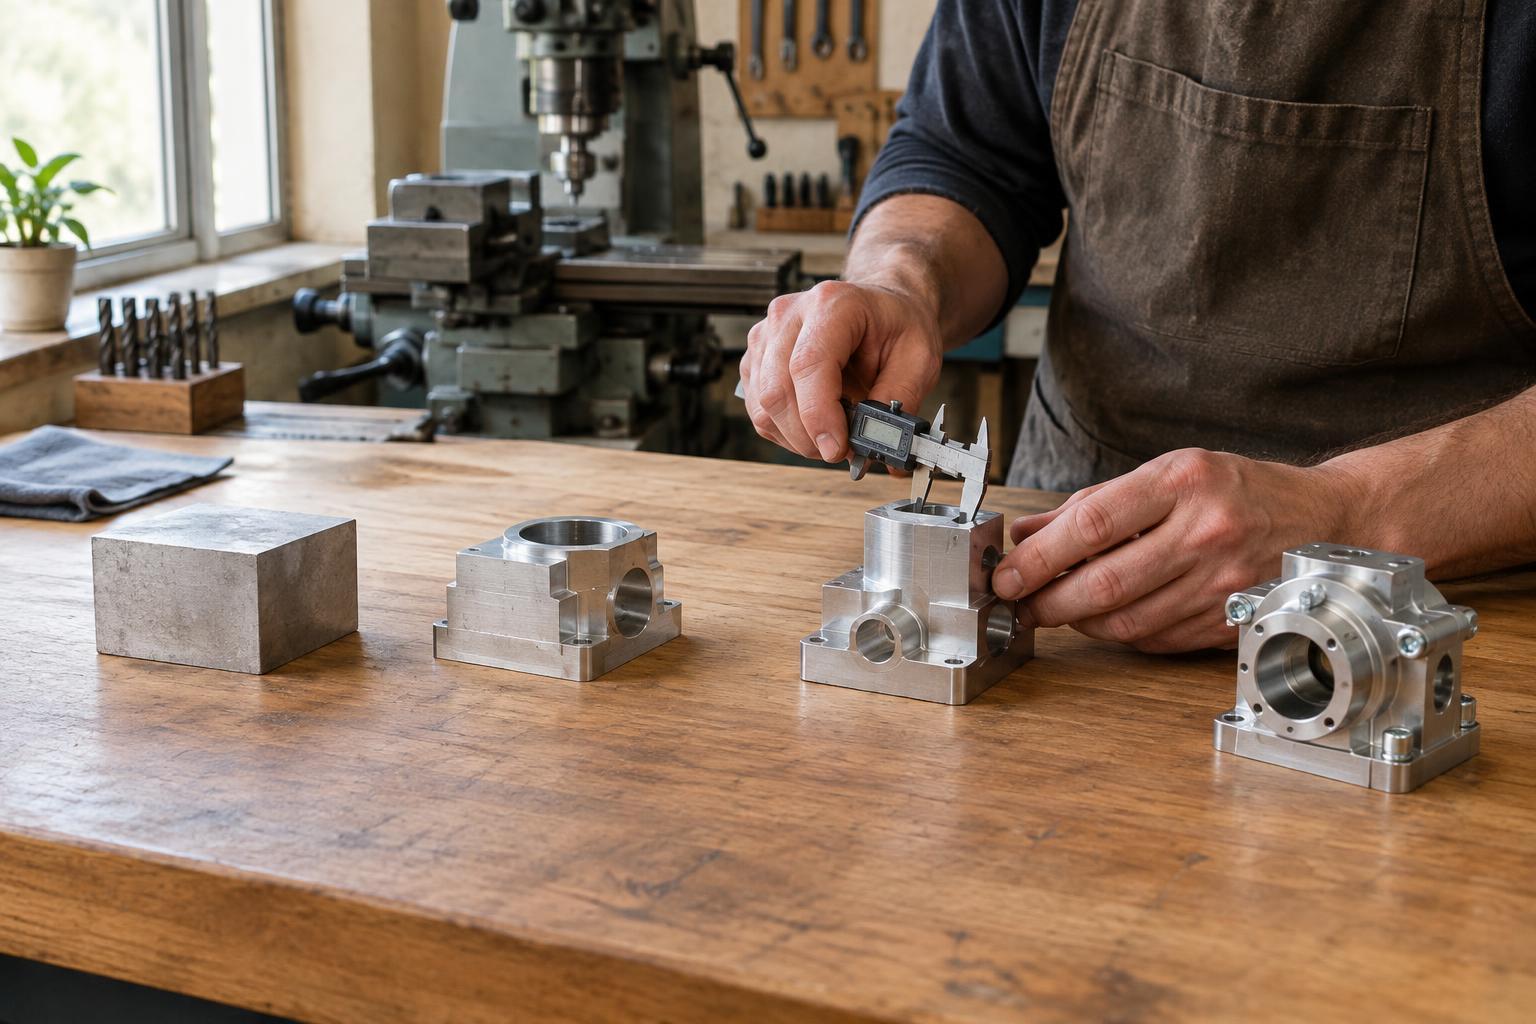
Inspection is most useful when a result can still be corrected without undoing later work. Check material condition before committing time to machining. Check a critical fit before permanent joining. Verify hole locations before applying a finish that would need repair if the part had to be reworked. These are decision points: the work either moves on, is adjusted, or is set aside for review.
Not every dimension needs a separate stop in the route. Select checks according to their consequences. A feature that guides several later operations deserves early attention; a cosmetic detail that can be adjusted at final inspection may not. State how a check will be made, what it is compared against, and who records or responds to a problem. Otherwise, “inspect” can become an ambiguous instruction that different operators interpret differently.
A first-piece check is particularly helpful after a setup change. It can reveal a reversed fixture, incorrect tool setting or unclear instruction before the same error is repeated across a batch. It does not replace checks during production, especially where tools wear or material varies, but it gives the route an early opportunity to catch a systematic mistake.
Balance smooth flow against early feedback
Grouping similar operations can save setup and movement time. Yet a large batch can also carry the same error through many parts before anyone tests the next step. For a new design or an unfamiliar process, moving a small number of pieces through the full route can reveal problems that isolated operations do not: parts that fit individually but not together, inaccessible fasteners, or a finish that complicates assembly.
The route should also account for waiting and storage, not just machine time. Adhesives may need to set, coatings may need suitable handling conditions, and unfinished parts may require protection while queued. If parts can be mixed up, label batches and retain orientation or matching information. These details help preserve the intent of earlier operations when work passes between people or stations.
Treat the route as a document to improve
A workable route is specific enough to follow but not so rigid that it conceals problems. Record the operation order, key references, fixtures, checks and any conditions that must be met before proceeding. Where there is a choice—such as drilling before or after forming—note why the chosen order works. That reasoning helps someone assess a proposed change rather than copying a sequence without understanding it.
When rework occurs, trace it back to the earliest point where the problem could have been detected or prevented. The answer may be a different operation order, but it may also be a clearer drawing, better part identification, a fixture adjustment or a check placed sooner. Revise the route after testing the change. A good production sequence does not promise that errors will disappear; it makes the work easier to repeat, assess and improve.