Two ways to move ink onto a part
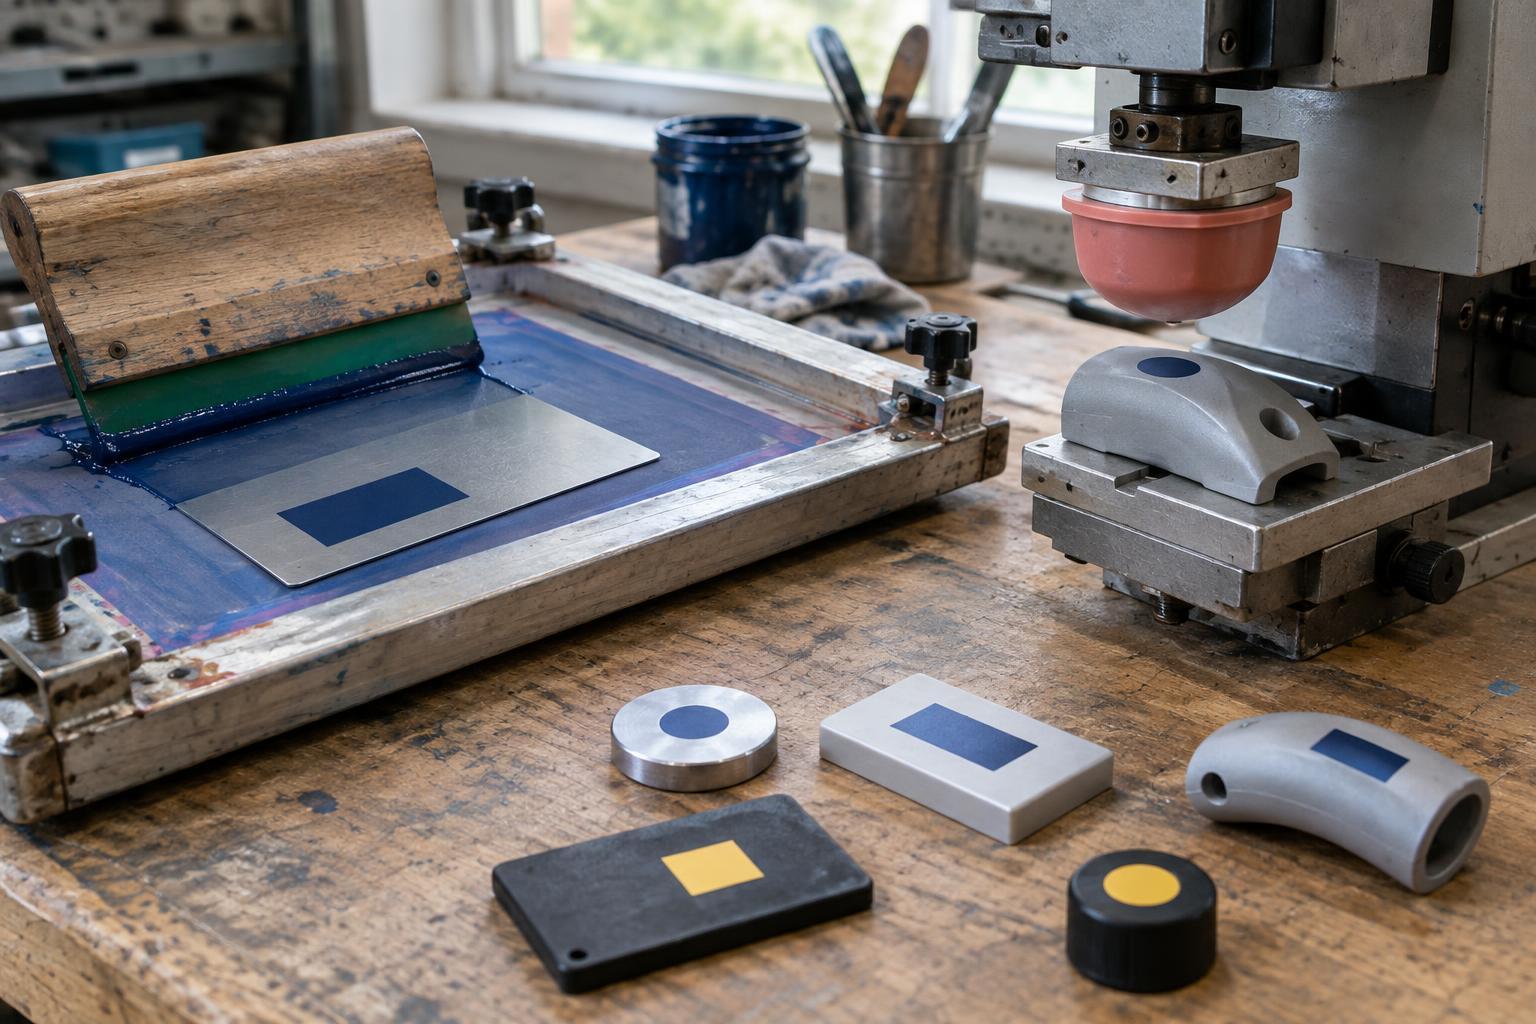
Screen printing pushes ink through open areas of a stencil held on a mesh. The screen sits close to the part, and a squeegee moves ink across it. This direct transfer works especially well when the print area is flat or can be held consistently against the screen. The method can produce bold graphics and broad areas of color, provided the part and fixture support even contact.
Pad printing uses an etched image plate and a flexible silicone pad. Ink fills the image on the plate, the pad picks it up, then presses it onto the part. Because the pad can conform to a surface, it can reach areas that are awkward for a flat screen, such as a shallow recess or a gently curved housing. Neither method is automatically the higher-quality choice; the result depends on the geometry, artwork, materials and process control.
Start with the surface, not the artwork
The shape of the marking area is often the quickest way to narrow the choice. A flat panel, nameplate or broad face gives a screen a stable surface and room for a useful image area. Small buttons, handles and molded components may be better candidates for pad printing, particularly when the mark must sit on a curved or slightly uneven feature. Severe curvature, sharp steps and deep recesses can challenge either process, so access should be tested rather than assumed.
Fixturing matters just as much as nominal shape. A part that rocks, flexes or varies in position can shift the mark or change the ink deposit. Check whether the component can be located by repeatable features without scuffing a finished surface. Also look at draft angles, raised edges and assembly seams: a logo that fits in a drawing may cross an area that prevents clean contact in practice.
Match the process to the mark
Consider the size of the image, the fineness of its details and how it will be viewed. Screen printing is a natural option for larger, relatively open graphics on suitable surfaces. Pad printing is often useful for compact symbols, labels and controls on three-dimensional parts. Very fine lines, small lettering and closely spaced elements require particular care with either method; ask for a sample at the intended size instead of judging only a digital proof.
Multiple colors introduce alignment and handling decisions. Each color generally needs its own image preparation and transfer step, with the part held consistently between steps. If colors must meet precisely, registration becomes part of the design brief. Separating colors slightly, increasing tiny gaps or choosing a simpler mark can sometimes improve consistency without losing the information the mark needs to convey.
Check the ink, substrate and service conditions
A successful transfer is not the same as a durable mark. Plastics, coated metals, glass and other surfaces differ in texture and in how readily ink adheres. Mold-release residue, oils or handling contamination can interfere with printing even when the underlying material is suitable. The ink system, any surface preparation and the drying or curing process should be considered together for the actual part finish.
Define what the mark must withstand. A decorative logo on a protected interior component faces different conditions from instructions on a frequently touched control. Cleaning products, abrasion, moisture and exposure to light may all be relevant, depending on use. Agree on an appropriate sample evaluation with the printer or supplier, including visual checks and practical adhesion or wear checks suited to the product. Testing on a substitute material may miss problems caused by the final coating or texture.
Choose through samples and a clear production brief
Before selecting a method, provide a physical part or representative sample, artwork at its intended size and a drawing that identifies the print location. Include acceptable variation in placement, required colors, expected appearance and any areas that must remain free of ink. Note whether the mark is applied before or after assembly, since access and handling may change at each stage.
Ask for trial prints that reflect the intended production sequence, not just a carefully positioned one-off. Compare legibility, edge quality, coverage, placement and the condition of the part after handling. Then consider setup, changeovers, expected quantities and likely artwork revisions alongside the print result. The practical choice is the method that can place the required mark on the real part, with suitable durability and repeatability, without adding unnecessary complexity to the workflow.