Start with the job the hole must do
A hole for a loose-fitting bolt has different demands from a hole that locates a pin or carries a threaded fastener. Before choosing a tool, identify the required position, diameter, depth, surface finish, and relationship to nearby features. The drawing or design should also make clear whether a thread needs full depth in a blind hole or whether a tool can pass through the workpiece. These decisions determine the sequence of operations and how the finished feature will be checked.
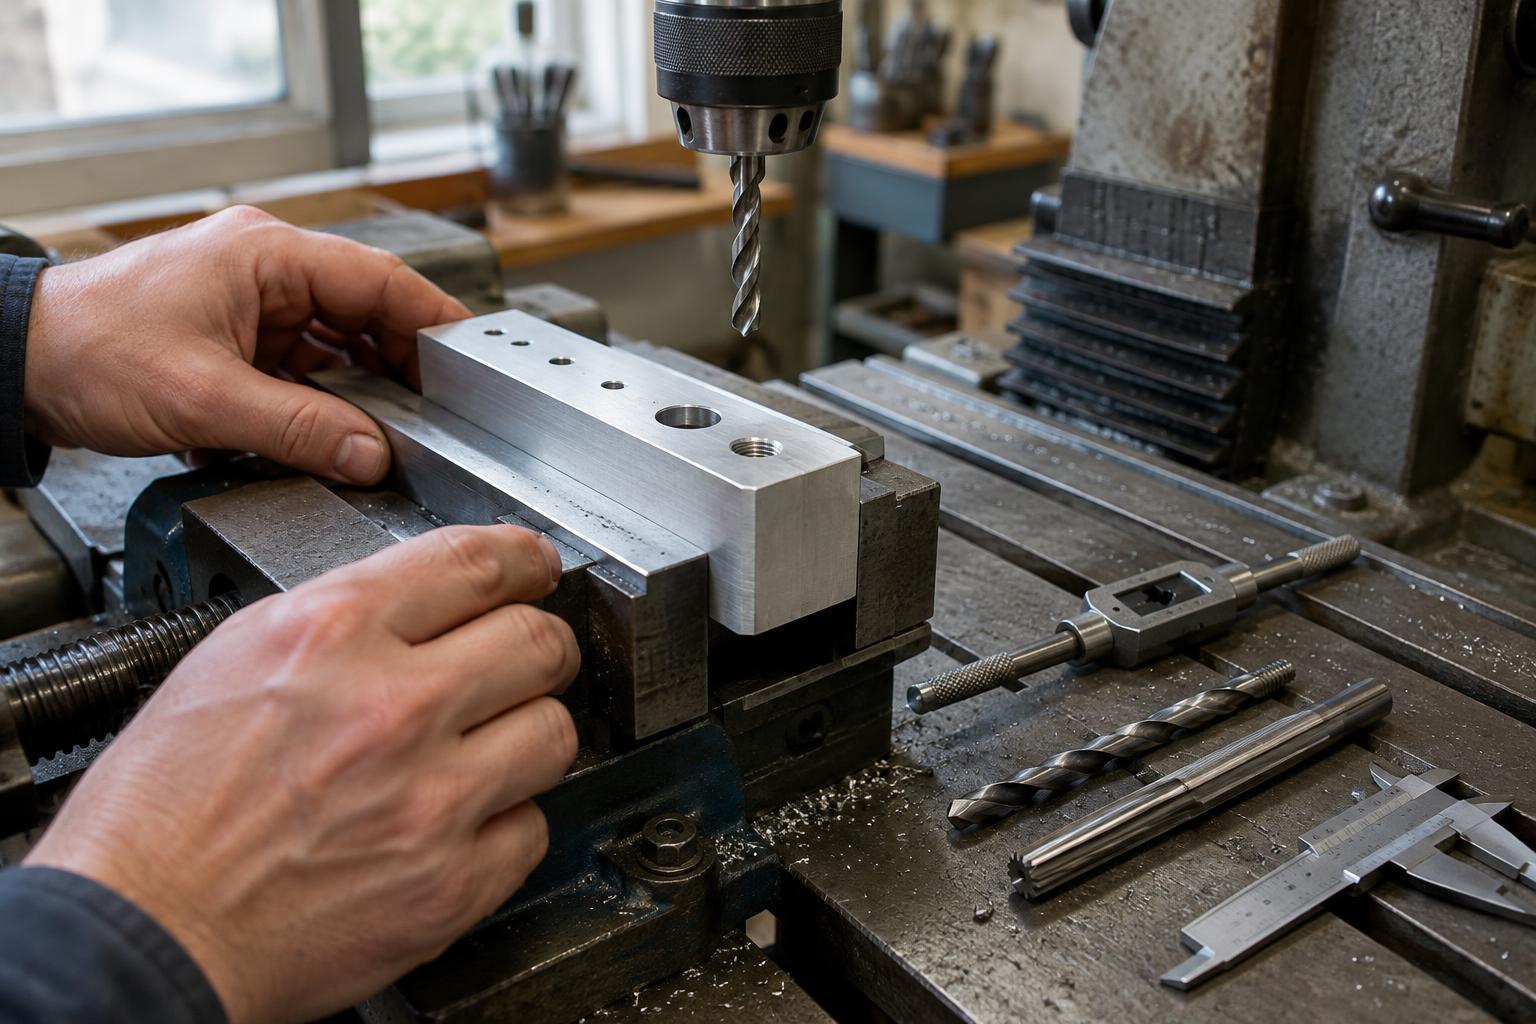
The workpiece must be held firmly, with support close enough to the cut to limit movement or vibration. A vise, fixture, or clamp should keep both the part and the operator clear of the rotating tool; holding a workpiece by hand is not a substitute. For repeated parts, a consistent locating surface matters as much as a precise machine setting. If each blank sits against a different edge or a layer of trapped chips, the holes may be consistent relative to the machine but inconsistent relative to the parts.
Drill a sound starting hole
Drilling usually establishes the hole that later operations refine. Marking out can help with setup, but accurate production depends on locating the part and tool reliably. A suitable spot drill can create a short, centered start, especially where a long drill might wander. Keeping the tool short enough for the job, minimizing unnecessary overhang, and presenting it squarely to the surface all help control the result.
Choose the drill, cutting conditions, and fluid where appropriate for the workpiece material and machine. A dull edge may rub instead of cut; excessive feed can overload the tool or distort a thin part. Chips need a route out of the hole, particularly as depth increases. Pausing or using an appropriate pecking cycle can help clear them, but repeated entry also needs care to avoid damage. After drilling, check for burrs and confirm that the hole is in the expected location before committing time to reaming or tapping.
A drilled hole may be entirely adequate for a general clearance feature. It should not automatically be treated as a precision locating hole, however: drill size alone does not guarantee finished diameter, roundness, or position. If a close fit is required, plan a finishing operation and leave it suitable stock to remove.
Ream when size and fit demand it
Reaming is a finishing operation for an existing hole. A reamer removes a relatively small amount of material to improve diameter and finish; it is not intended to correct a badly misplaced hole. The drilled hole therefore needs to be reasonably straight and correctly located. The amount of material left for reaming depends on hole size, material, and tool guidance. Too little may cause rubbing rather than cutting, while too much can overload the reamer or harm the finish.
Maintain alignment as the reamer enters, and use conditions suited to the tool and material. Clean cutting edges and effective chip removal matter because trapped chips can scratch the bore or affect size. Avoid stopping a rotating reamer in the cut unless the process specifically calls for it. Where fit is critical, measure the completed hole with an appropriate gauge or measuring tool rather than assuming that the reamer's nominal size is the size produced in every setup.
Prepare and cut the thread
Tapping turns a prepared hole into an internal thread. Select the tap-drill size for the specified thread and material rather than using the nominal thread diameter as the starting hole. A hole that is too small can make tapping difficult and increase the risk of tool breakage; one that is too large may leave insufficient thread form. Deburring or lightly chamfering the entrance helps the tap start cleanly and leaves a more usable opening.
Tap style should suit the hole. Through-holes provide an exit for chips, while blind holes require space for the tap's lead and for material displaced or cut near the bottom. The available depth must account for that space as well as the required usable thread. Keep the tap aligned with the drilled hole and use a cutting method and lubricant, where appropriate, that suit the material and tool. For hand tapping, follow the tap maker's guidance on advancing and clearing chips; forcing a tap that has begun to bind is likely to make the problem worse.
Inspect the feature, not just the tool path
A complete check considers whether the feature works in the assembly. Hole position and perpendicularity may matter as much as diameter. For a reamed bore, check the specified size and fit with a suitable measuring method. For a tapped hole, confirm the thread specification, usable depth, and ease of engagement with an appropriate gauge or known-good mating part. A fastener that starts only when forced may indicate misalignment, damage, or chips left in the thread.
If results drift, investigate the process in order: part location and clamping, tool condition, alignment, chip evacuation, and the size of the starting hole. Adjusting only the final tool can hide an earlier cause. Keeping work surfaces clean and checking an early part before running a batch are simple habits that reduce the chance of repeating an error. Accurate holes and threads come from a controlled sequence, with each operation leaving the next one a suitable starting point.