Start with the measurements that matter
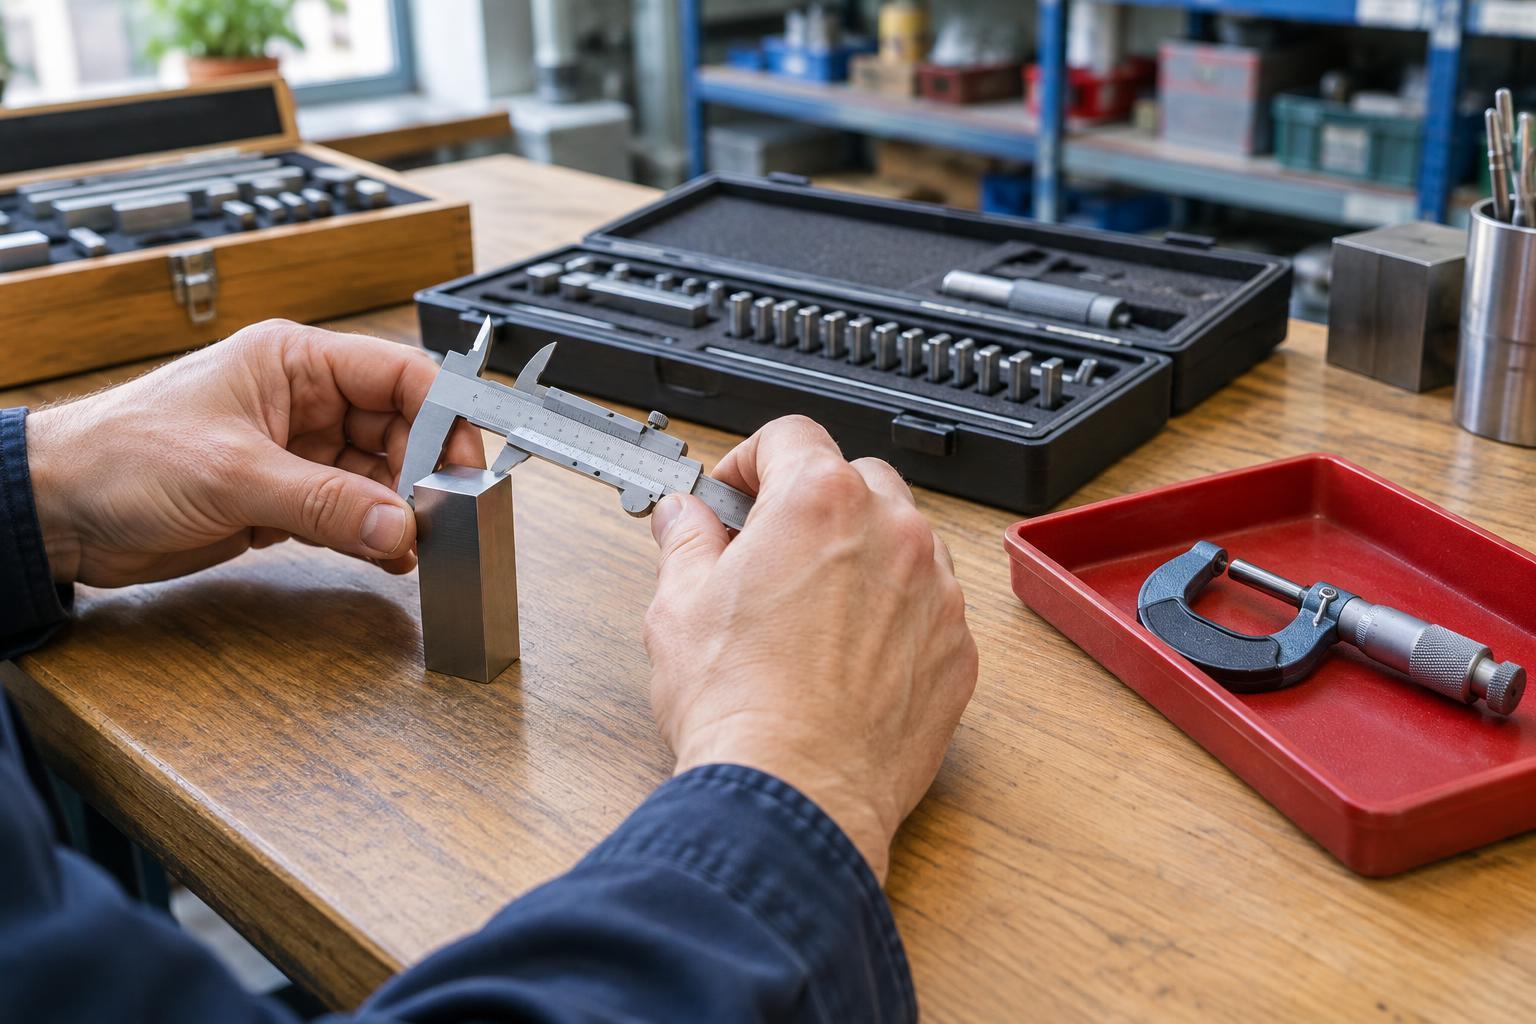
Not every measurement in a workshop carries the same risk. A tape measure used to plan a storage shelf may need a different level of control from a micrometer used to accept a close-tolerance component. Begin by listing where measurements guide setup, inspection or a decision to accept work. Note the required tolerance, the conditions in which the tool is used and what could happen if its reading is wrong. This gives the calibration system a purpose beyond keeping a drawer of certificates.
Give each controlled tool a unique identifier and record its type, measuring range, usual location and intended use. A shared register can also show its current status, the date of its last check and when the next check is due. Keep the record simple enough that people will update it. If a tool is suitable only for rough layout, say so clearly rather than letting it drift into final inspection.
Choose checks and intervals to suit the tool
Calibration compares a tool’s readings with a suitable reference and records the results. A quick verification checks whether it still meets a defined requirement at selected points; it does not necessarily describe its behavior across its full range. Both can be useful. The appropriate method depends on the measurement, the tool and how the result will be used. Where documented traceability is needed, keep the relevant records for the reference or service provider alongside the tool’s results.
Set review intervals using factors the workshop can observe: frequency of use, handling, exposure to dust or impacts, past results and the consequences of an incorrect reading. A tool that remains stable may justify a different interval from one that often needs adjustment. Between scheduled checks, encourage users to look for worn contact faces, sticking movements, damaged cables or a failure to return to zero. A visible due-date label helps, but it should not replace those checks or the register behind it.
Make out-of-service status unmistakable
A tool should leave service when it is damaged, gives inconsistent readings, fails a check or cannot be shown to be within its required status. An overdue check may also require removal until its suitability is confirmed. Mark the tool “out of service” with its identifier and the date, then move it to a designated holding area where it cannot be picked up for routine work. For fixed equipment, a clear tag and a practical barrier to use may be more effective than a note in a register alone.
Record who identified the problem and what they observed, without guessing at the cause. Assign one person or role to arrange repair, adjustment, verification or disposal. Separating this responsibility from ordinary use prevents a tool from quietly returning to the bench because it appears to be working again. If parts or assemblies have already been measured with it, preserve the information needed to review those decisions.
Review earlier work without assuming every part is wrong
When a tool fails a check, identify the last point at which its performance was known to be acceptable. Review its use since that point: which jobs relied on it, what dimensions were measured, how close results were to acceptance limits and whether another reliable measurement is available. The scope of review should reflect the possible measurement error. A small discrepancy on a noncritical layout dimension may call for a different response from an uncertain final inspection reading.
Keep affected work identifiable while decisions are made. Where practical, remeasure with a suitable tool; otherwise, document why a result can or cannot be relied upon. The aim is to make a reasoned decision about the work, not to declare every item defective automatically. A brief record of the review, any rework and the final disposition will also help the workshop spot recurring problems with a tool or process.
Control the return to use
Repairing or adjusting a tool does not by itself establish that it is ready for use. Check it against its intended requirements, record the result and confirm that its identification and status are clear. If a tool has been restricted to a narrower range or a less demanding task, update its label and register so users know the limit. Retain useful records of its earlier condition rather than replacing them with a new pass result.
The strongest system is one people can follow during a busy shift. Keep known-good tools accessible, provide an obvious place for suspect ones and make it easy to report a problem without disrupting the whole workshop. When measurement status is visible and decisions are recorded, calibration becomes a practical part of organizing work—not merely a date on a sticker.