What makes a press fit work
A press fit joins parts through interference: before assembly, a shaft or insert is slightly larger than the hole that will receive it. As the parts come together, their surfaces deform enough to create contact pressure. That pressure helps resist movement without a separate fastener or adhesive. Bearings in housings, pins in plates, and metal inserts in other components are familiar applications, though each places different demands on the joint.
The intended interference must suit the materials, geometry, and job of the assembly. Too little may allow the joint to loosen or shift; too much may distort a thin housing, damage a bearing, or require excessive assembly force. A drawing should therefore define the mating dimensions and tolerances rather than simply call for a “tight fit.” The design also needs enough surrounding material to withstand the assembly and service loads.
Prepare the mating features
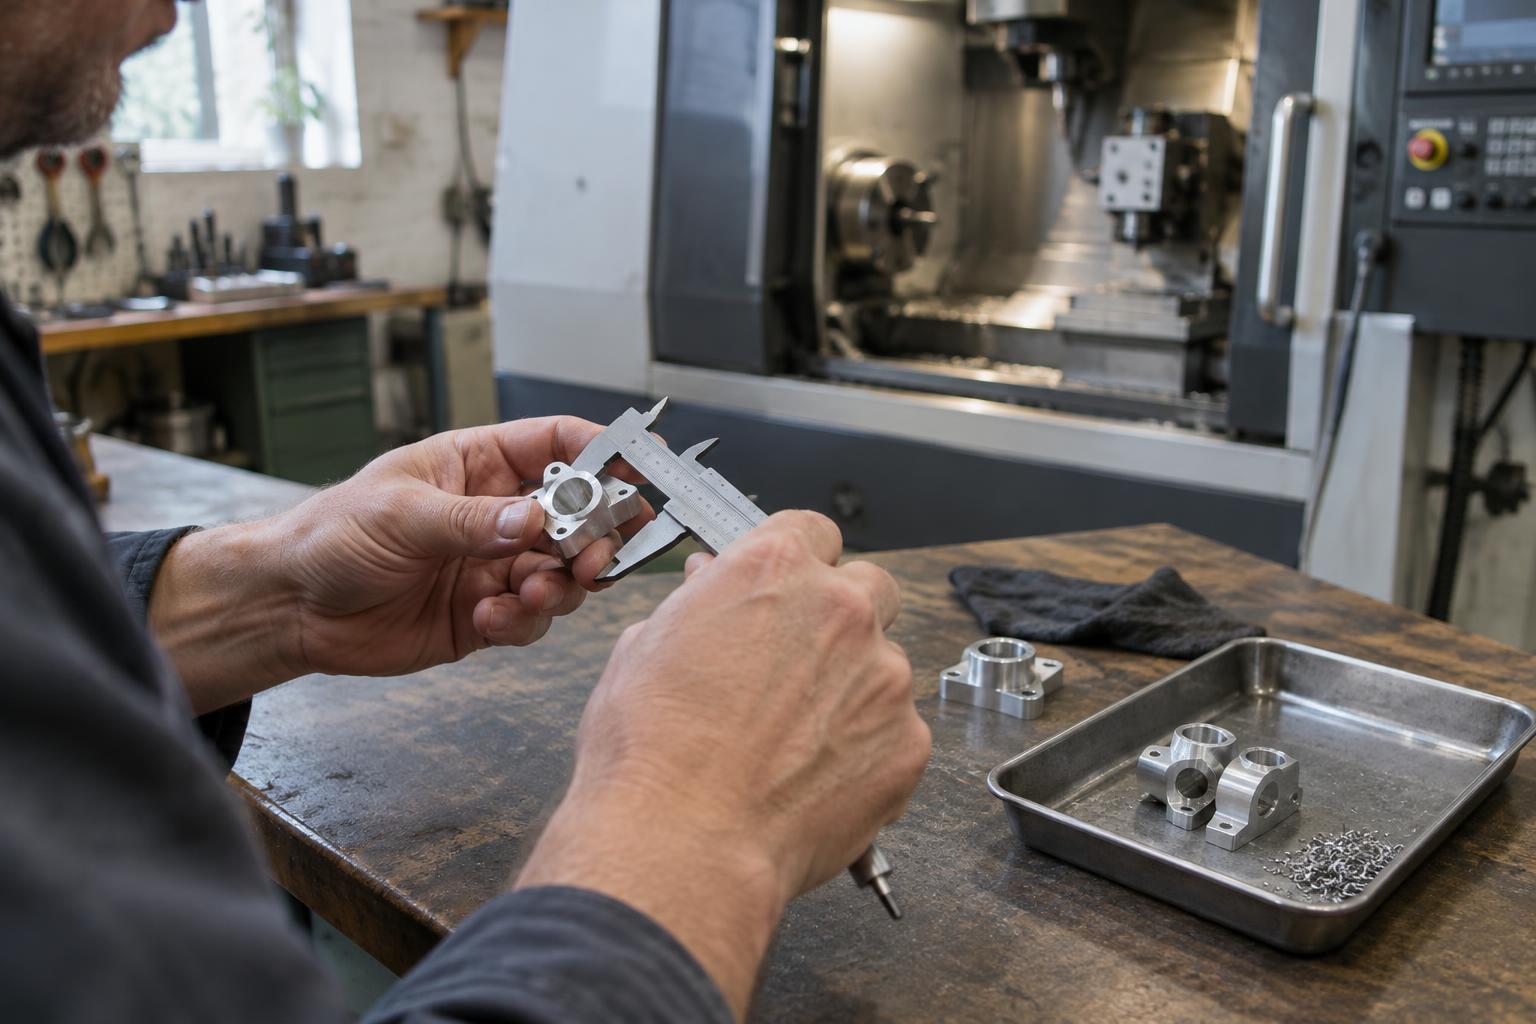
A reliable press fit begins before the parts reach the press. Check that the hole and mating part are the intended sizes and that their shapes are suitable. A nominally correct diameter does not guarantee a good fit if a hole is tapered or out of round. The condition of the surfaces matters too: burrs, dents, chips, or raised edges can make a part feel tight for the wrong reason and may score the mating surface during insertion.
Clean the features and inspect the entry edges. A small, deliberate lead-in can help start the parts squarely, while an uncontrolled burr can prevent that alignment. Surface finish should also be considered as part of the fit, not as decoration. Rough peaks may flatten during assembly, changing the effective contact between the parts. If a process calls for lubrication or another assembly aid, apply it consistently; changing surface conditions can change the force needed to seat the joint.
Support and align the parts during assembly
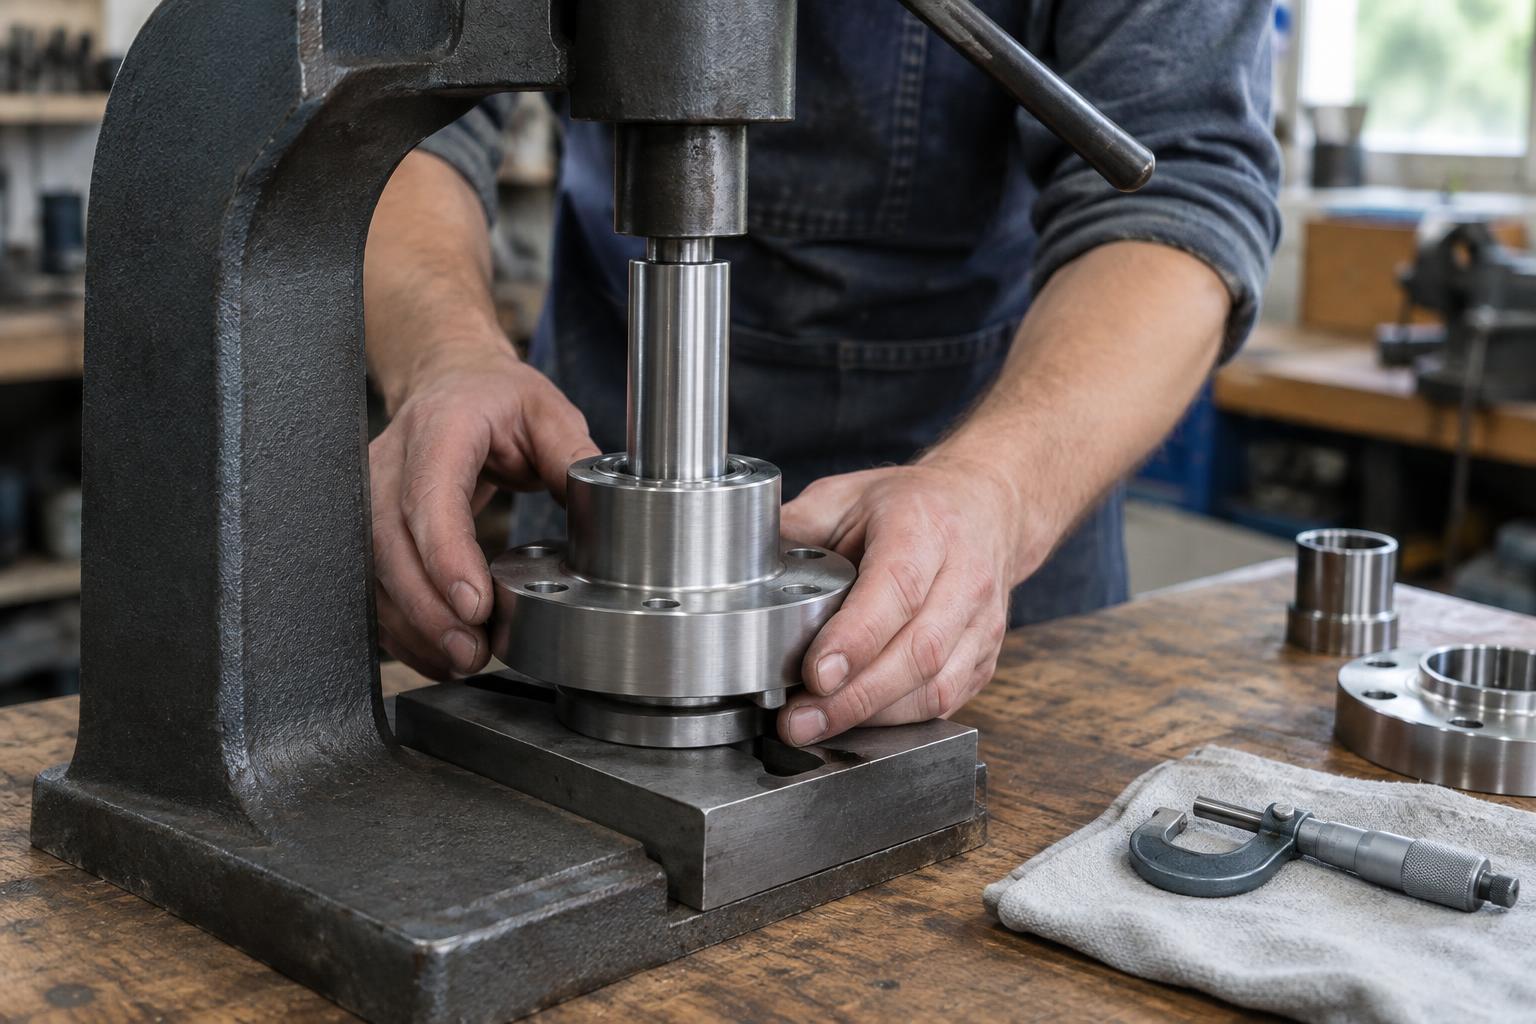
Pressing should apply force along the intended axis while supporting the receiving part close to the joint. Poor support can bend a plate or crack a brittle feature even when the interference itself is appropriate. A guide, fixture, or shaped press tool can help keep the parts square as insertion begins. Once a part starts at an angle, continuing to force it may scrape material from one side and leave a damaged or misaligned joint.
The press tool should contact a surface that can safely carry the load. For example, when installing a bearing, the applied force should go through the ring being fitted rather than through its rolling elements. A controlled press makes it easier to notice an unexpected rise in force or a part that stops short. Striking a part by hand may be practical for some robust assemblies, but it offers less control over alignment and seating.
Treat temperature-assisted assembly as a planned process
Some assemblies are made easier by temporarily changing the size of one component: warming a receiving part may expand its hole, while cooling an inserted part may shrink it. As temperatures return toward their usual range, the intended interference develops. The approach can reduce insertion force, but it does not correct an unsuitable fit or damaged geometry.
Temperature-assisted assembly needs a defined handling sequence. Parts may change size while they wait, so preparation, alignment, and seating must happen in a repeatable order. Temperature limits also matter: heat or cold can affect coatings, seals, lubricants, and nearby components. Where these effects are uncertain, the process should be evaluated for the particular materials and assembly rather than treated as a universal shortcut.
Check the joint and learn from difficult assemblies
After pressing, confirm that the part reached its intended position and remained square. Depending on the product, useful checks may include seating depth, visible gaps, runout, or whether a moving component still operates freely. Assembly force can provide another clue when it is measured consistently, but force alone cannot prove that a joint is sound: a burr or misalignment can produce a high reading without a proper fit.
If a part repeatedly stalls, tilts, or requires unusual force, avoid treating a stronger press as the first solution. Compare the mating dimensions, inspect the entry features, review support and alignment, and check whether surface preparation has changed. Recording what was observed makes it easier to distinguish a one-off damaged component from a process problem. The aim is not merely to push the parts together, but to produce the same undamaged joint each time.